

Before planning individual views, use the free script breakdown sheet to record cast, props, wardrobe and continuity scene by scene.
What is shot reverse shot
Shot reverse shot is a way of covering a scene through alternating viewpoints. A character speaks or looks, the edit shows the other participant, and a return view lets us read the response. The pattern is common in dialogue because the audience can stay with one exchange while seeing different faces. Adobe’s reverse-shot overview describes its role in continuity editing and character interaction.
The reverse is an opposing view of the scene, not an instruction to rotate a camera exactly 180 degrees around an actor. Where you put the camera still matters. In a conventional conversation, the views should make the people seem connected across the cut. A beautiful portrait of each actor will not establish that connection on its own.
For AI cinema, this creates a practical production strategy: brief and review the two sides separately, then decide how they play together. You can retain a useful reaction or repair one view without asking a single generation to deliver every line, camera change and gesture. The resulting edit still needs a continuity check against the actual returned takes.
An original shot reverse shot example
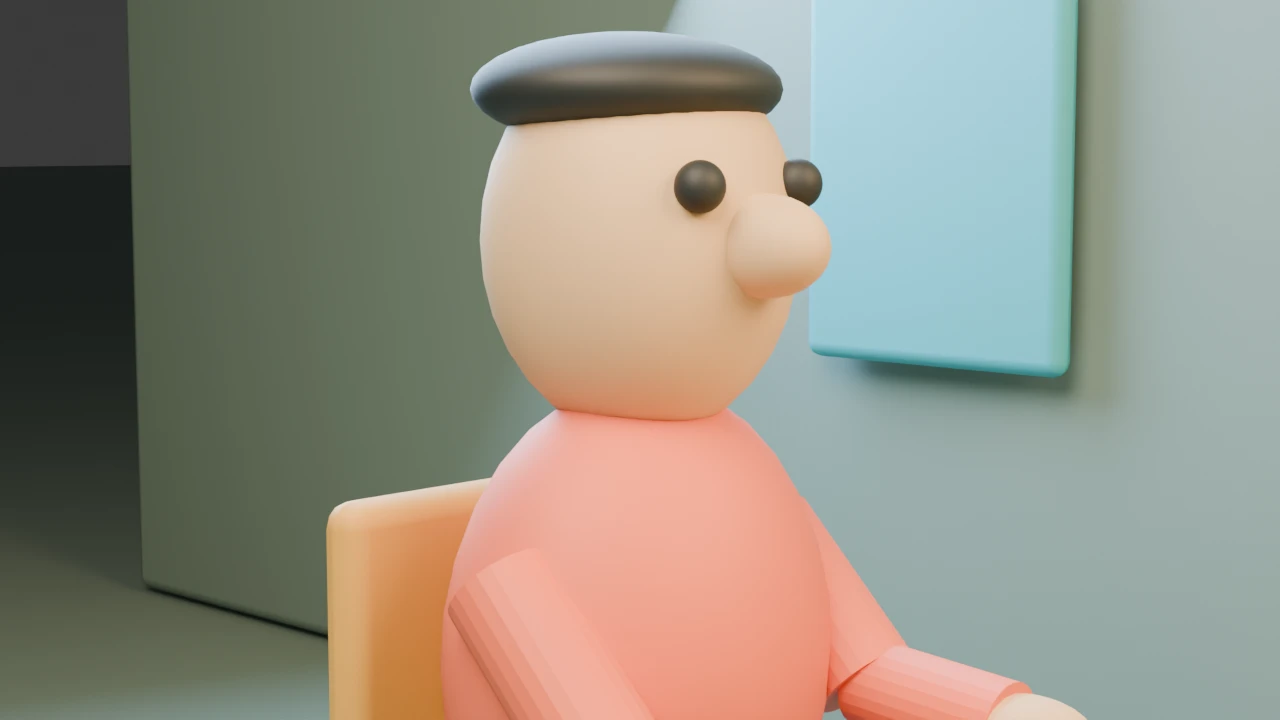
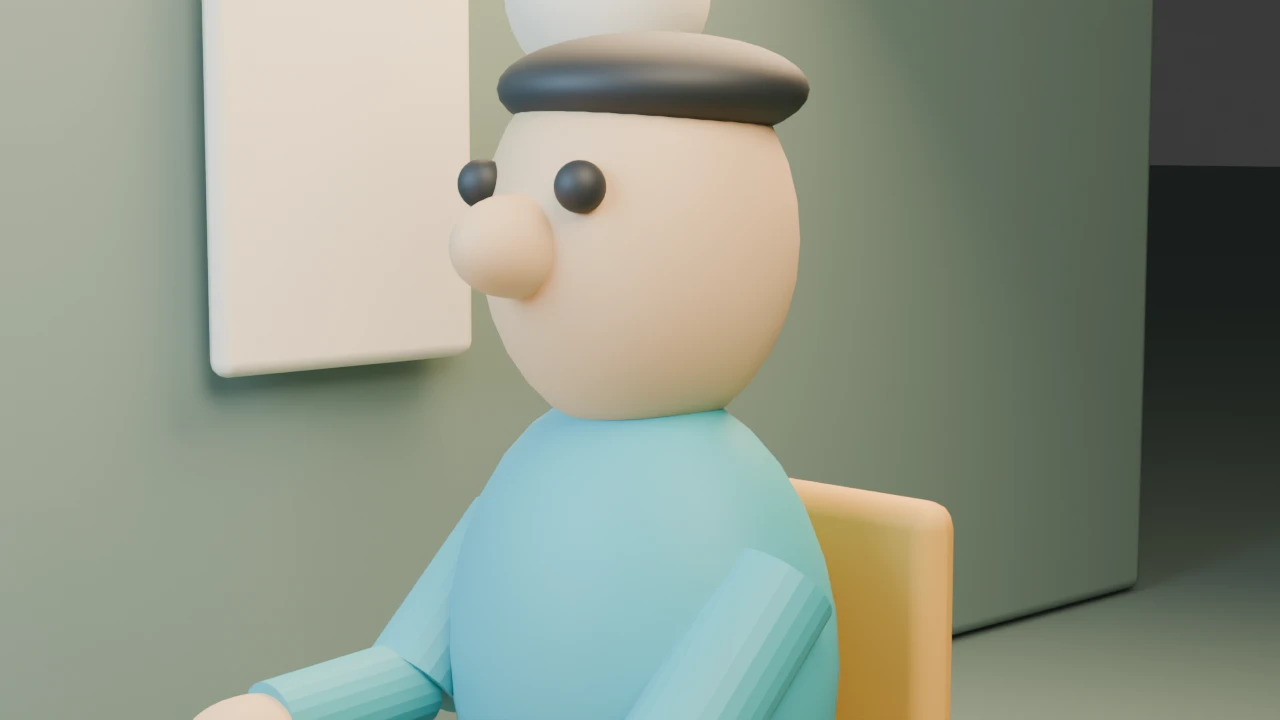
Our fictional scene is The Blue Key. A coral-clothed character A sits on the left side of a small table. A teal-clothed character B sits on the right. Both face each other, and a key lies between them. These simple figures are intentionally easy to distinguish, so the exercise can focus on camera placement rather than costume or facial-detail matching.
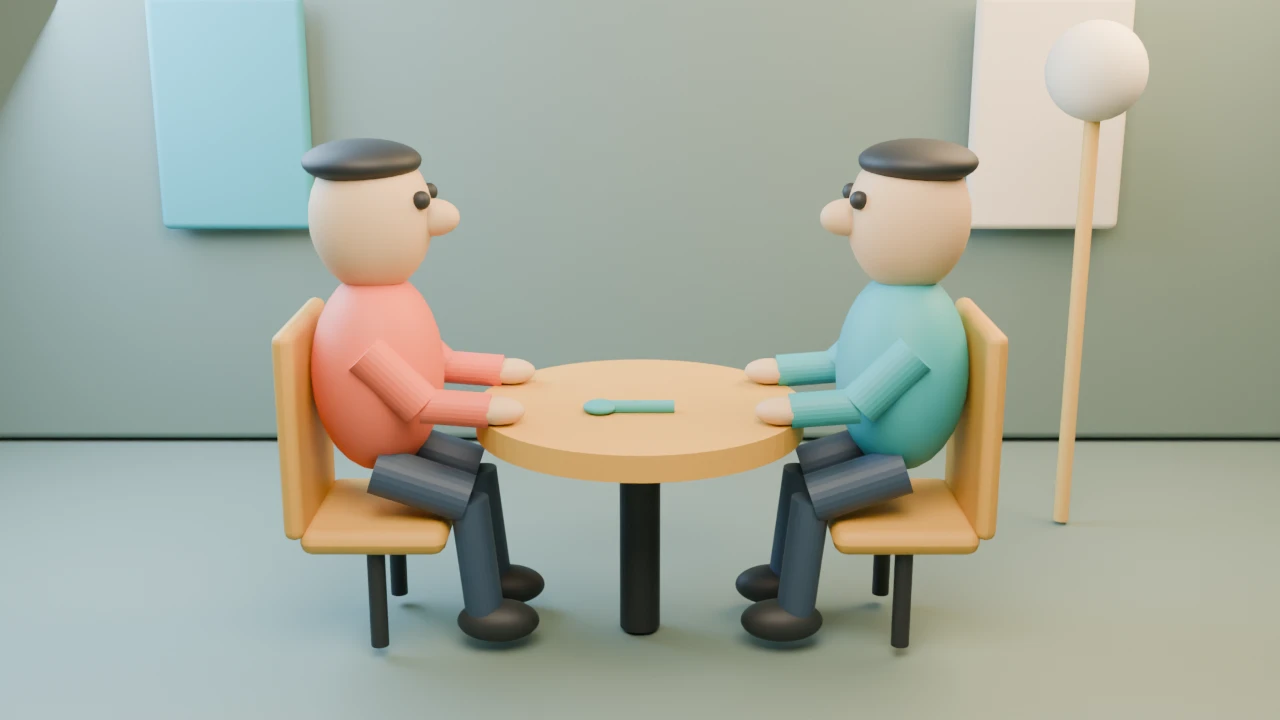
The same-side edit below holds A for three seconds, B for three seconds and A for another three seconds. A faces screen right and B faces screen left. The return view is the same A image, so it demonstrates a coverage pattern rather than a newly animated reaction. The entire clip is nine seconds at 24 frames per second.
Watch this clip and view its details
This is an authored Blender render assembled from still holds. It is silent and contains no speech, lip sync, camera movement or character performance. It does not demonstrate that an AI model can reproduce the scene. Use it to inspect the relationship between the views, then apply the review questions to your own actual footage.
See what crossing the line changes
In the planner above, select Across the actor axis. Only the reverse camera moves to the other side of the line connecting A and B. The cast, table, key and lights stay fixed. B now also faces screen right. The change can make the second view feel disconnected from the first, and the background is different because the camera is looking into another part of the same studio.
The comparison was rendered from the native scene rather than made by mirroring the B image. That matters: a horizontal flip would also reverse asymmetric clothing, text and props, while a real camera relocation changes perspective and which background surfaces are visible. Download the crossed-line example to compare the two files in your own editor.
The StudioBinder guide to the 180-degree rule explains the actor axis as a spatial convention and discusses deliberate line crossing. Crossing is not inherently a technical failure. A filmmaker may use it for a motivated change, or show a camera move or new establishing view that lets the audience understand the new geography. This particular exercise isolates the unmotivated jump so it is easy to inspect.
The shot composition guide and original waiting-room study compares how subject placement, empty space and foreground affect the information inside an individual frame.
Shot reverse shot versus eyeline match and over the shoulder
| Technique | Main decision | Use in this scene |
|---|---|---|
| Shot reverse shot | Which participant or opposing view appears next | A then B then A |
| Eyeline match | What a look connects to | A looking toward the established B position |
| Over-the-shoulder shot | Whether the nearer person anchors the foreground | An optional alternative to the clean singles shown here |
| Reverse angle shot | Which opposing view of the action is needed | The B camera looking back across the table |
| Reaction shot | When another person’s response matters | An actual performed response would replace a static return hold |
You can alternate clean singles without showing a shoulder. You can also include a shoulder to preserve a visible relationship between the foreground person and the subject. Choose the framing that supports the scene. A shoulder placed on the wrong side or with the wrong wardrobe can create a new mismatch instead of solving the old one.
Use our eyeline match guide for the specific look-to-target relationship. It owns that separate question. This page focuses on the alternating coverage pattern and how to plan both camera positions. For the story information carried by a small object, continue to the insert-shot guide.
Plan two camera positions before generating dialogue
- Fix the two character positions and the line between them.
- Choose which side of that line the conventional coverage will use.
- Record each character’s planned screen direction.
- Choose clean singles or over-the-shoulder framing for each side.
- Lock the reference wardrobe, props, background and lighting direction.
- Write one visible action and one useful endpoint per shot.
- Review the actual A and B takes together before finishing the scene.
The native study places A at world X minus one and B at X plus one, with both on Y zero. Camera A sits at X one, Y minus 2.1 and Z 1.8. The matched B camera is at X minus one, Y minus 2.1 and Z 1.8. Both singles use a 58 mm focal length in this Blender scene. Those are reproducible study coordinates, not universal camera settings or tested prompt controls for a video model.
The crossed version changes only camera B’s Y coordinate from minus 2.1 to plus 2.1. Keeping that one variable explicit makes the comparison inspectable. For a different room, moving actors or unequal eye heights, plan the actual geometry again. The fixed example does not calculate every possible three-dimensional conversation.
Write shot reverse shot prompts for an AI scene
Start with an approved character and environment reference for each view. Specify the visible direction in the intended frame instead of using only left and right in an ambiguous world description. Keep the broader character identity record separate from the camera brief. If the selected workflow supports references, use the accepted reference and inspect how the actual result follows it.
A-view draft — A fictional adult in a coral jacket sits at a small ochre table in a quiet diner. Frame a clean medium close view. The person’s attention stays toward screen right, connected to the other seated participant. A blue key remains on the established table. Keep the approved hairstyle, wardrobe and light direction. Finish with a small pause that leaves room for a response.
B-view draft — Show the accepted fictional adult in the teal overshirt from the complementary side of the same conversation. Their attention stays toward screen left. Preserve the room, their chair position and the established background relationships. Use one restrained response rather than adding a new action, camera orbit and prop exchange together.
These are proposed creative briefs. They have not been tested as model requests, and written directions do not force a generator to preserve geometry. Build each view with the currently supported controls in Clout AI Cinema or the image and video studio, inspect the returned take and revise the smallest failing decision. The free planner above exports your proposed beats alongside the study’s camera record; it does not send a generation request.
Let the listener carry part of the scene
A conversation does not require cutting to whoever is speaking at every line. A listener can be the important image when a statement lands, when they conceal information or when a pause changes the scene. Decide what the audience needs to notice before choosing the cut point. For a detailed response plan, use the reaction-shot workflow.
Our two proposed beats are Keep the key and You will need it. A possible edit might hold on the listener during the first line, then cut to the reply. That is a new performance and sound-timing exercise, not something proved by the silent render. Record or generate permitted draft speech in your chosen workflow, then inspect the words, pauses and lip sync in the real result.
Use the free animatic maker if you want to try different hold lengths before spending render credits. Keep that timing draft separate from the performed scene. For a series with several exchanges, the AI short drama guide connects the coverage decision to a broader production process.
Review the cut and repair one mismatch at a time
| What looks wrong | Check first | A focused next step |
|---|---|---|
| Both people appear to look the same way | Camera side and intended partner position | Reframe the reverse view or motivate the new axis |
| The room changes across the cut | Fixed background anchors and actor positions | Retain the accepted room reference and simplify the camera move |
| The scene feels like two unrelated portraits | Shared action and readable spatial relationship | Try a master view or useful foreground anchor |
| The reply feels late | Actual speech and usable source handles | Adjust the editorial cut before regenerating a good take |
| A quick flip seems to help | Text, asymmetrical clothes, props and lighting | Compare the whole sequence before accepting the mirror |
A reverse shot can match screen direction and still fail dramatically. Check the change in attention, the useful silence and whether the response reveals the intended information. For conventional coverage, a consistent axis gives you a stable starting point; it does not replace watching the finished scene.
Download the original scene and production files
- Native Blender scene with all four cameras
- Original scene-building Python source
- Measured scene camera positions and lens settings
- Render provenance and measured video metadata
- Matched nine-second example
- Crossed-line nine-second example
- Blank actual-take continuity review sheet
The Blender file opens on the master camera. Select Camera a, Camera b or Camera b-crossed to inspect the alternate views. Both videos use three still holds at 24 fps with no audio. The review sheet deliberately leaves take and acceptance fields blank: no generated performance or audience comprehension test is represented. Keep your own accepted scene, candidate takes and final edit as separate revisions.


