Higgsfield image to video turns a still into a moving scene through a selected video operation. A useful first clip starts with an accepted composition, adds one observable action and ends with a full playback review. An attractive opening frame is only the starting point: the hands, face and props must still make sense as they move.
This independent Clout guide uses official help pages checked October 3, 2026. It includes two original fictional reference images, three adaptable motion briefs and a blank review sheet. The artwork was created with a separate image-generation tool. These are planning assets, not Higgsfield video outputs or a paid generation benchmark.
Choose the input role before choosing the motion
A first frame defines the opening composition you want to animate. An identity reference tells a supported workflow who should appear; it need not define the opening camera position. An end frame describes the desired finishing composition. Naming the role prevents a portrait from being mistaken for a complete shot plan.
| Input | What you are asking for | What still needs review |
|---|---|---|
| Starting image | Animate this accepted scene | Motion, geometry and continuity after the opening |
| Identity reference | Use this recognizable creator in a scene | Face and wardrobe in the actual composition |
| Start and end images | Connect two planned endpoints | The complete path and the final composition |
| Motion reference video | Follow a supported movement reference | Timing, framing and compatibility with the character |
For several inputs with different roles, use the Seedance R2V guide. For a different viewpoint of the same still, use the Angles guide. Changing a photo viewpoint does not prove that a video camera move will remain coherent.
Prepare a first frame that supports the action
Inspect the original image at its native size. Can you see the face and the hands that will move? Does the object have a clear shape? Is there enough space for the action? Repair an awkward hand or duplicated prop in the still before asking a video model to carry it through time.
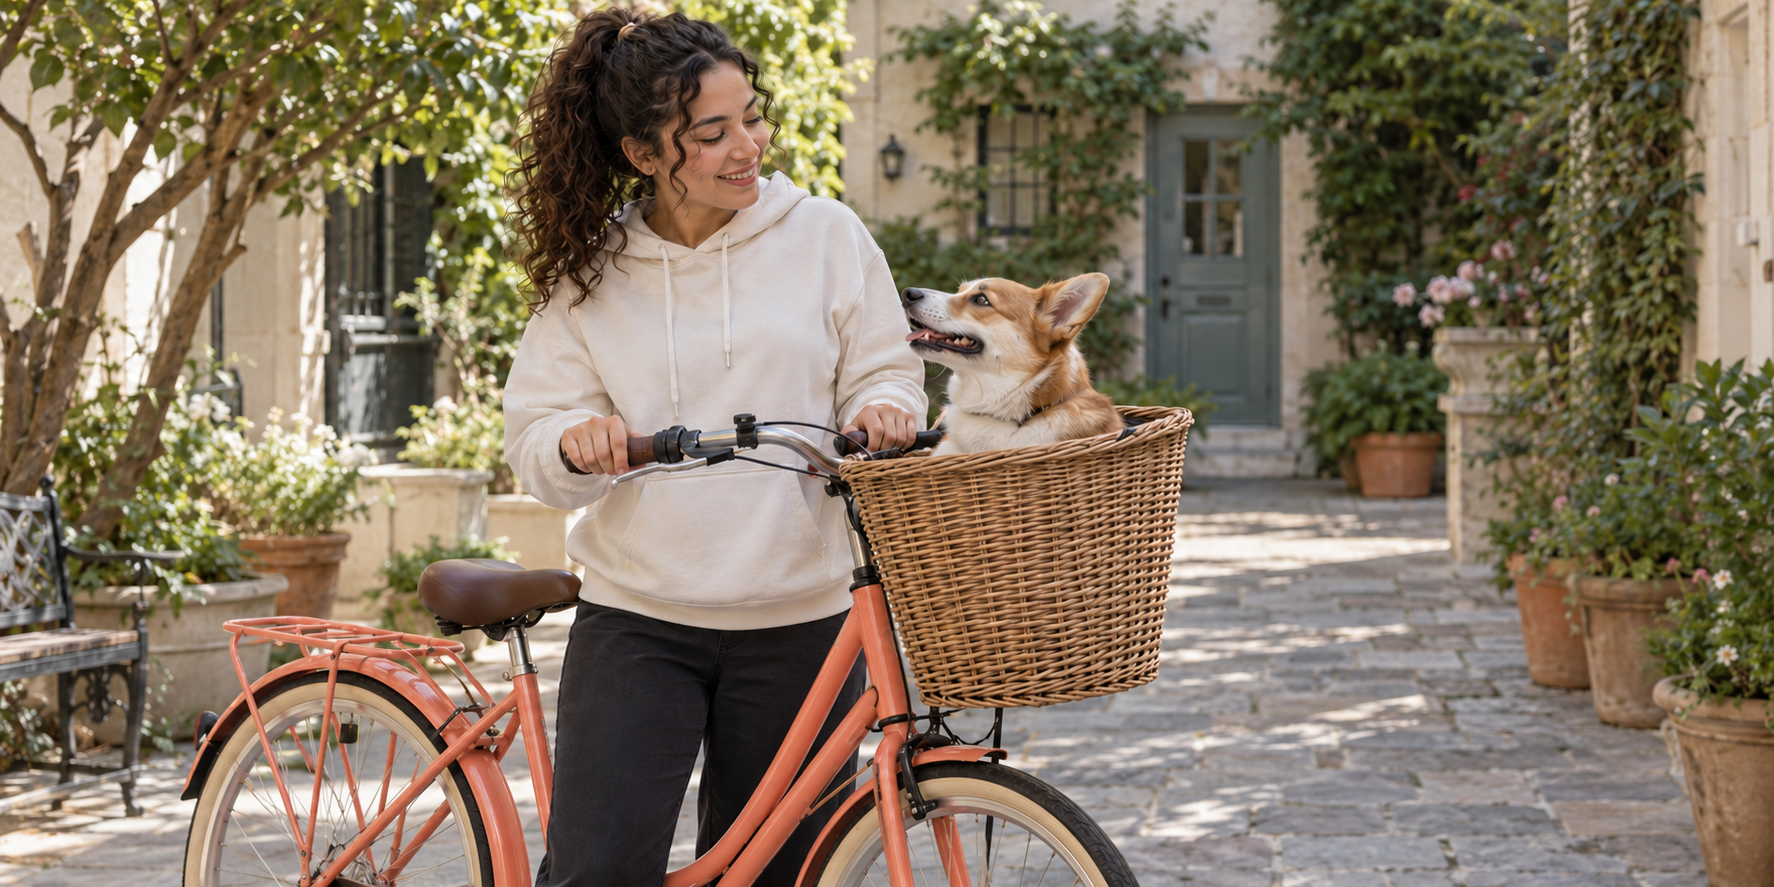
Our casual comedy example uses one fictional creator in a cream hoodie, one parked coral bicycle and one corgi seated in a wicker basket. Both hands already rest on the handlebars. The planned action is a small head turn by the dog. The scene has an understandable joke without requiring a bike ride, a new camera angle or several simultaneous gestures.
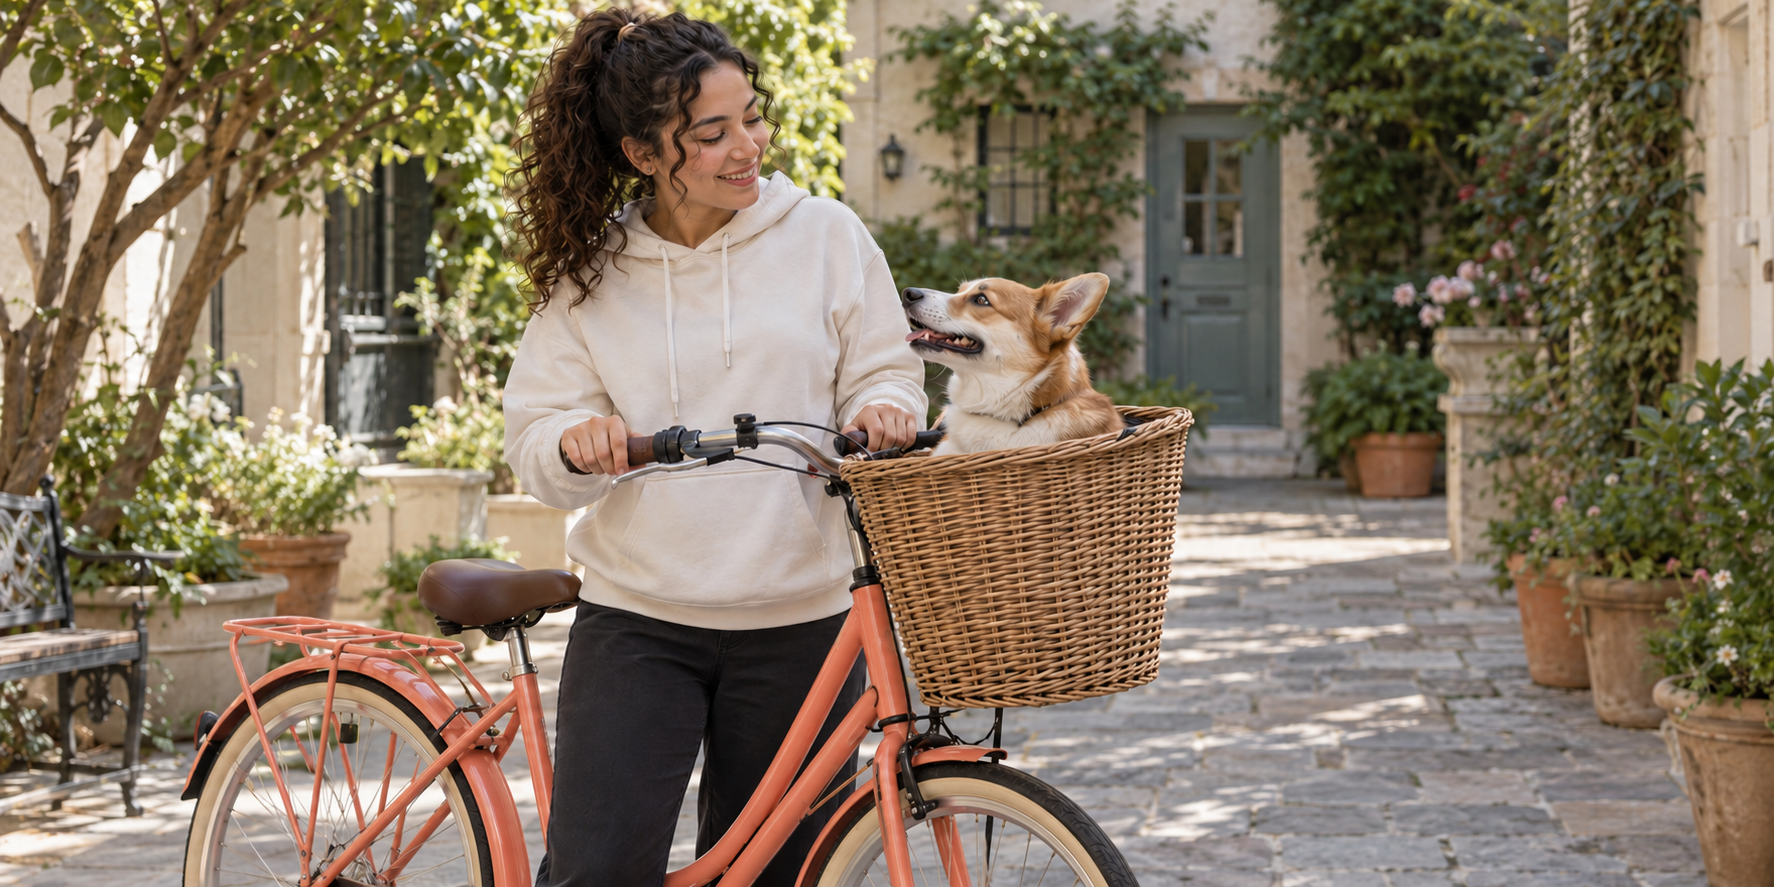
Download the native-resolution first-frame PNG. Preserve your source file and its approved crop. Our wide example suits a landscape clip. For a vertical campaign, prepare a vertical composition with the important details inside the intended frame rather than forcing this landscape image into a narrow crop that loses the dog or hands.
Choose an action the image can show. A creator holding a closed cup can turn it slightly; a person already gripping handlebars can stay still while reacting. A close portrait cannot establish how unseen shoes, a full outfit or the back of a product should look. Add genuine reference evidence when those details matter.
Open the image and select a video operation
The official account guide describes opening a saved image in Assets and using Turn to video to animate it. The asset view also shows generation details and offers a download. Keep the accepted image and the selected operation together in your project notes.
- Open your accepted image rather than an unreviewed draft.
- Choose the available video operation and confirm its supported input roles.
- Set the intended aspect ratio, duration and resolution.
- Write one action, the camera behavior and the details to preserve.
- Check the displayed charge before submitting.
- Review the full returned clip and record the outcome.
Interfaces and available operations can differ by account or model. If you enter through the Video workspace instead, select the intended model and its image input. Do not treat a feature name in an old tutorial as proof that every current model exposes the same fields.
Use Seedance image to video with a clear motion brief
For Seedance image to video, the official Seedance guide describes choosing Seedance from Video, uploading a clear image and specifying action and camera movement. It also documents duration, aspect ratio and resolution controls with an updating charge on Generate. Confirm the particular version you selected before following a version-specific instruction.
Separate subject movement from camera movement. “The dog turns toward the camera while the camera remains fixed” is easier to assess than a brief combining a bike ride, an orbit, a wardrobe change and a sudden zoom. The first attempt should answer whether the intended small moment is readable.
Save the model, duration, resolution, ratio and exact prompt alongside the result. Change one failed requirement at a time so the next review has a clear question. Use the Seedance settings and prompt generator when you need an editable structured shot brief.
Turn a Nano Banana Pro still into a video
Searching for Nano Banana Pro image to video? The important distinction is the two-stage workflow. Higgsfield's Nano Banana help page identifies it as an image model family. Pro creates still images from text or image inputs; the accepted still then becomes input to a video operation. It is not a native video generation mode inside the Pro image model.
First finish the still: identity, outfit, object count, composition and light. Then switch to the video task and describe the movement. If the video changes the cup shape, inspect that stage rather than repeatedly regenerating an already-correct starting image. Keep the two outputs and their separate settings so you can locate the failure.
The same handoff can begin with an approved photo or another supported image tool. Choose the starting asset for the intended scene. A tool label alone does not establish that a given face or product will remain correct through the finished clip.
Plan image to video with a first and last frame
For image to video first and last frame workflows, begin with two compositions that belong to the same shot. Higgsfield's Kling help page describes start and end frame inputs in its scene workflow. Confirm those inputs in your chosen operation; their presence in that guide does not establish support across every model or version.
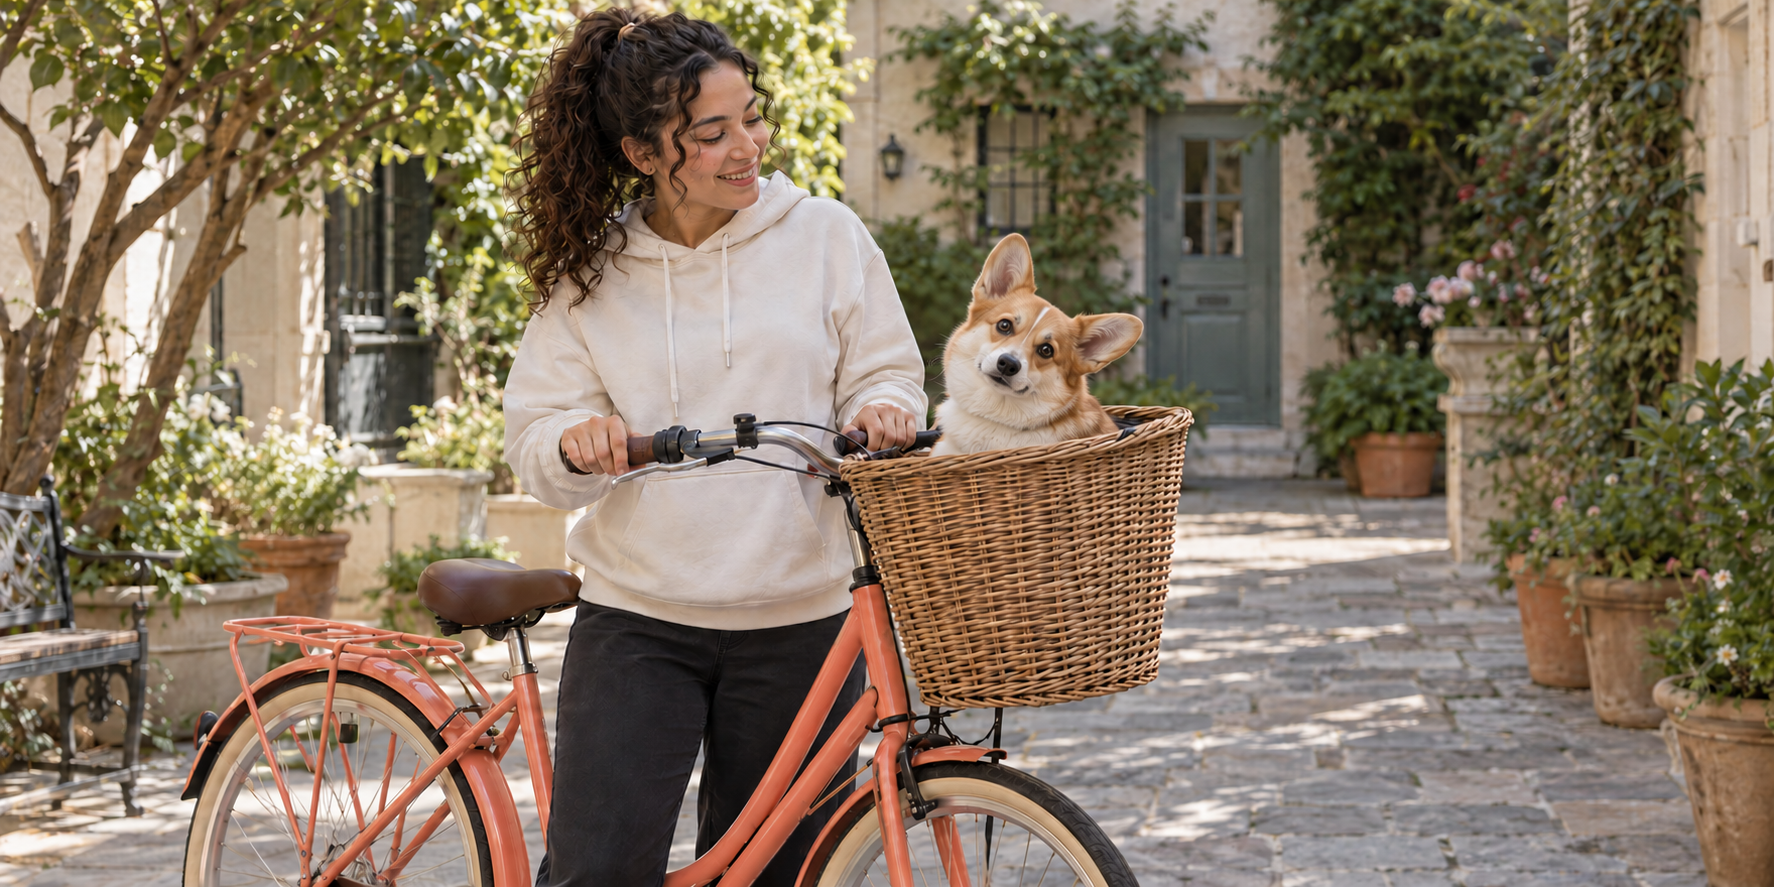
Our illustrative endpoint keeps the creator, outfit, bicycle, courtyard and camera framing while the corgi faces the viewer with a small head tilt. The requested change is visible and limited. This second still is a separately generated planning image, not a frame extracted from a completed video.
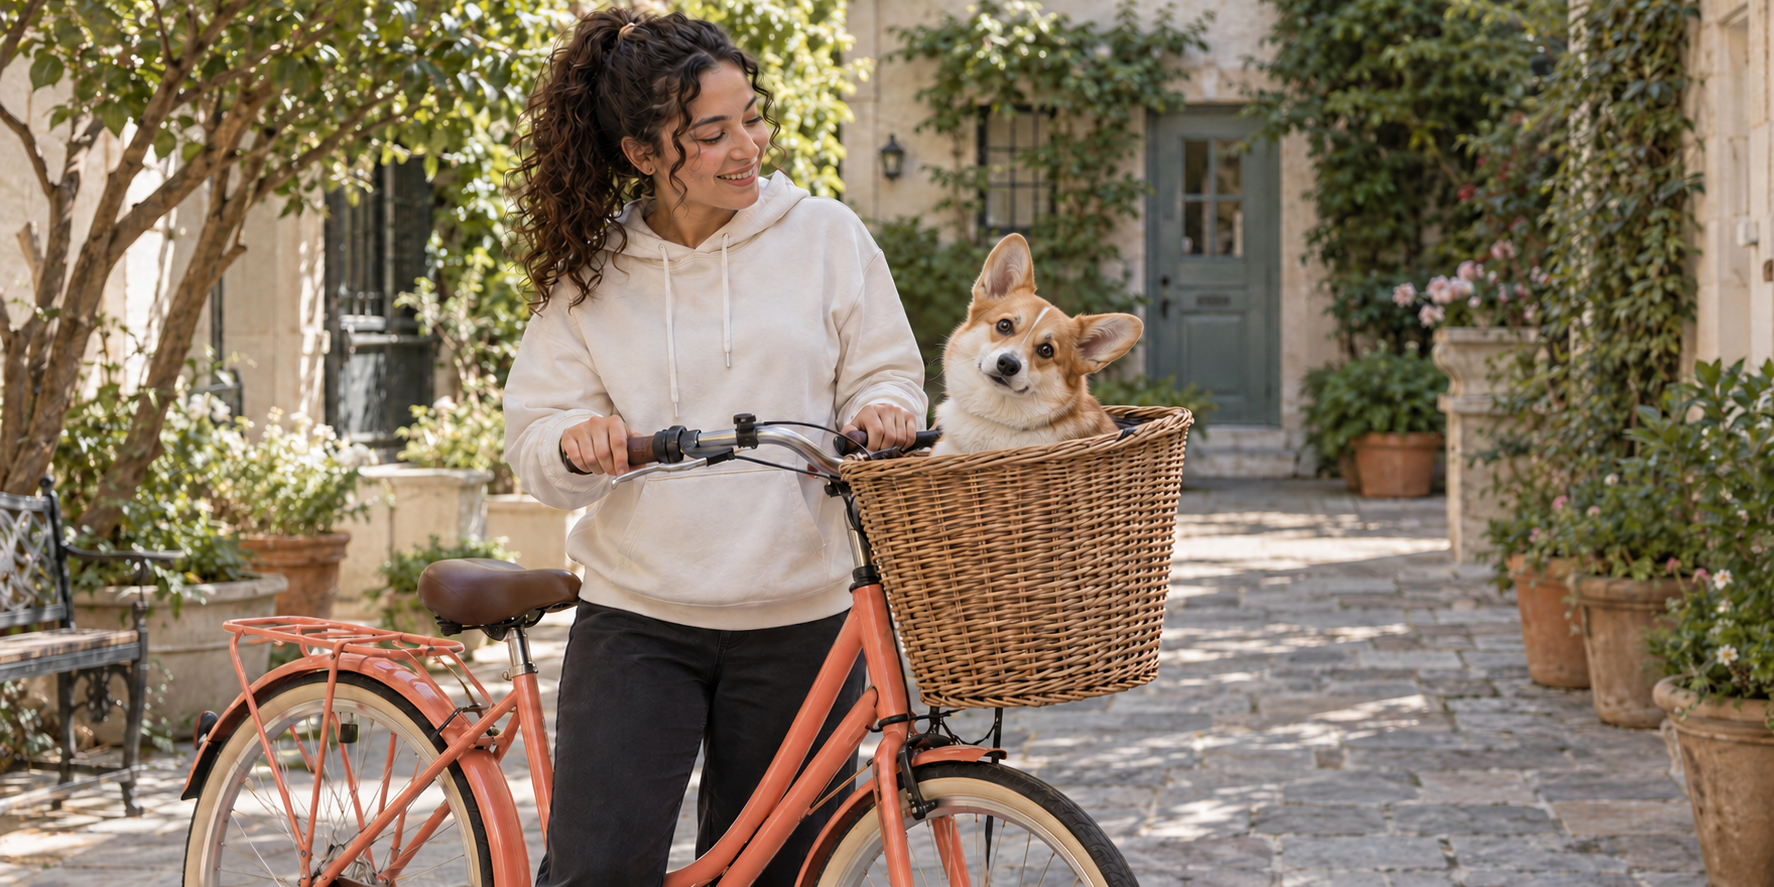
Download the native-resolution planned end-frame PNG. Compare both images before submitting: small generated differences may exist outside the intended change. Reject or repair a pair if a hand, prop or face already conflicts between the endpoints.
Explain the transition between them. Request a gradual head turn, a small tilt and a stable finishing pose while the bike stays parked. The two endpoints do not prove that intermediate motion will be natural. Review the path for stretching, popping, duplicated ears or changes in basket geometry.
Try three adaptable motion prompts
These original briefs are starting points, not claims of tested performance. The comedy prompt uses our downloadable scene. The product and fashion examples require your own approved still with the described objects and framing. Keep the action modest before adding a new move or cut.
Casual comedy with our downloadable reference
Use the approved courtyard image as the starting composition. The tan-and-white corgi slowly turns its head from the creator toward the camera and gives one curious head tilt. The creator keeps both hands on the handlebars and smiles naturally. The coral bicycle remains parked and the dog stays seated in its wicker basket. Locked eye-level camera, soft morning light, subtle natural movement. No added subjects, cuts, text, logos or wardrobe changes. Add any caption afterward in the editor.
Product reveal with your own approved image
Use an approved still of your creator beside one closed orange travel cup on a table. The creator gently rotates the cup a quarter turn with one hand and then stops. Keep the other hand resting on the table. Locked camera, daylight, one uninterrupted shot. Preserve the cup shape, lid and genuine product details shown in the input. No duplicated objects, invented labels or background changes. Review hand contact and product geometry through the full export.
Simple fashion moment with your own approved image
Use an approved full-body still of your creator in the campaign outfit, with both feet and hands visible. The creator shifts weight once and lightly adjusts the jacket collar, then holds the pose. Fixed camera, natural soft light, one continuous shot. Preserve the face, outfit construction, colors and setting. No walking out of frame, cuts or outfit changes. Check hands, collar, hem and feet through playback.
Download all three editable motion briefs. For a funny social clip, add the joke after accepting the movement. One possible caption for the corgi scene is “My passenger has opinions.” Place it within the intended crop, use short readable lines and preview the actual delivery frame. For speech, check the transcript and timing rather than adding unrelated captions.
Review the entire clip before spending on another attempt
Download the blank continuity and delivery review sheet. Record the failed time and visible detail. The sheet contains no supplied quality score or accepted vendor result. It is for evidence from your own exported file.
| What you see | What to inspect | A focused next revision |
|---|---|---|
| The opening looks right but the face changes later | Identity through the full movement | Simplify the action and check supported identity references |
| A hand slips through an object | Contact and finger shape frame by frame | Reduce the gesture and make the contact requirement explicit |
| A prop grows or duplicates | Count, shape and visible construction | Fix the starting image or constrain the requested change |
| The finish snaps into place | Motion leading into the end frame | Use a closer endpoint and a simpler path |
| The joke cannot be read | Caption timing and final crop | Edit the caption placement and pacing |
The official credits guide says the selected charge appears on Generate before confirmation. It also separates website Unlimited or free-generation offers from connected routes that spend credits. Check the exact operation and surface rather than assuming every image-to-video attempt is free. Use the pricing guide to plan revisions in your campaign budget.
A completed render can still fail the brief. Download and inspect the full file, including its final crop, audio and captions. Keep accepted clips with their references; keep rejected clips with a specific reason. That record is more useful for the next scene than a folder of unnamed attempts.
Create a recurring creator for your next scene
Clout lets you create an original character and coordinated photos and video scenes. Build the recognizable creator first, then plan an everyday reaction, product moment or fashion scene around that identity. Create your story creator in Clout and use the consistent creator workflow to organize the campaign.
Clout publishes this independent guide and offers its own creator workflow. The reference pack illustrates planning choices; it does not claim that Clout reproduces every Higgsfield input control or that these stills establish a successful video test.