

Seedance 2.0 R2V means reference-to-video: you direct a new video using reference assets as well as a written prompt. A creator photo can define the person, a product image can define the prop and a short reference clip can guide camera movement. The useful step is assigning each input a clear role, rather than uploading several files and hoping the model knows which details matter.
This guide focuses on the R2V workflow for creator scenes and product moments. It includes two original downloadable image references, three ready-to-adapt prompts and a blank review sheet. The images are reference artwork, not frames from a Seedance generation. For versions, access and the wider model family, read the Seedance overview.
Understand R2V versus image to video
In a conventional image-to-video job, one image often acts as the starting composition you want to animate. In a reference-to-video job, your assets can supply separate ingredients for a newly directed scene. The distinction is about the operation and controls exposed by your chosen provider, not simply how many images you upload.
ByteDance's official Seedance announcement describes combined text, image, video and audio inputs. Its R2V examples explicitly assign different references to a character, scene, props and shooting script. These are documented capabilities; they are not a guarantee that every generated shot will preserve every detail.
| Workflow | Useful starting material | Good first job |
|---|---|---|
| Text to video | A written scene brief | Explore a new setting or visual idea |
| Image to video | An approved composition | Animate one simple action in that composition |
| Reference to video | Assets with explicit identity, prop or motion roles | Create a new directed scene around those references |
| Video editing or extension | A clip you want to change or continue | Revise a specific part using the supported editing operation |
Choose image-to-video if your main requirement is to bring one finished first frame to life. Choose R2V when the brief needs a reference person in a new composition or a combination of identity, prop and movement. A reference clip is not automatically an instruction to reproduce every object or person inside it.
Build a small reference pack with clear roles
Start with the fewest assets that explain the scene. More references can introduce competing outfits, lighting and faces. For a simple creator product moment, begin with one identity reference and one prop reference. Add a motion clip only if it communicates something your written camera instruction does not explain well.
| Asset role | What to preserve | What to exclude from that role |
|---|---|---|
| Identity | Face, hair and approved wardrobe | Unrelated people or conflicting outfits |
| Product or prop | Shape, color and visible construction | Invented functionality or unverified claims |
| Scene | Layout, lighting and atmosphere | An unwanted background character |
| Motion | One action or camera trajectory | The reference clip's identity unless requested |
| Audio | The intended sound role | Unspecified copying of every sound in the file |
Use an original fictional character or a person whose likeness you are permitted to use. Keep the asset names meaningful, such as creator-reference and prop-reference. Review the files at full resolution before uploading them: the prompt cannot reliably rescue an obscured face or a product image with a missing lid.
Keep a written role map next to the files. If a provider labels uploads by their order, reordering them can change what a token points to. Check the displayed labels after removing or replacing an asset. The consistent creator workflow helps you establish the identity baseline before directing motion.
Download the original creator and prop references
Our example uses a fictional creator with a dark bob and sage overshirt at a kitchen table. The coral tumbler with a cream lid is a fictional prop. We created the scene as original artwork, then made a separate reference-based product image. The prop edit preserves the broad concept, but it is not a pixel-identical extraction or evidence of a real product's dimensions.

Download the creator reference. For the examples below, assign it to the identity role. The kitchen can also guide the first scene, but it should not force every later prompt to use that location.
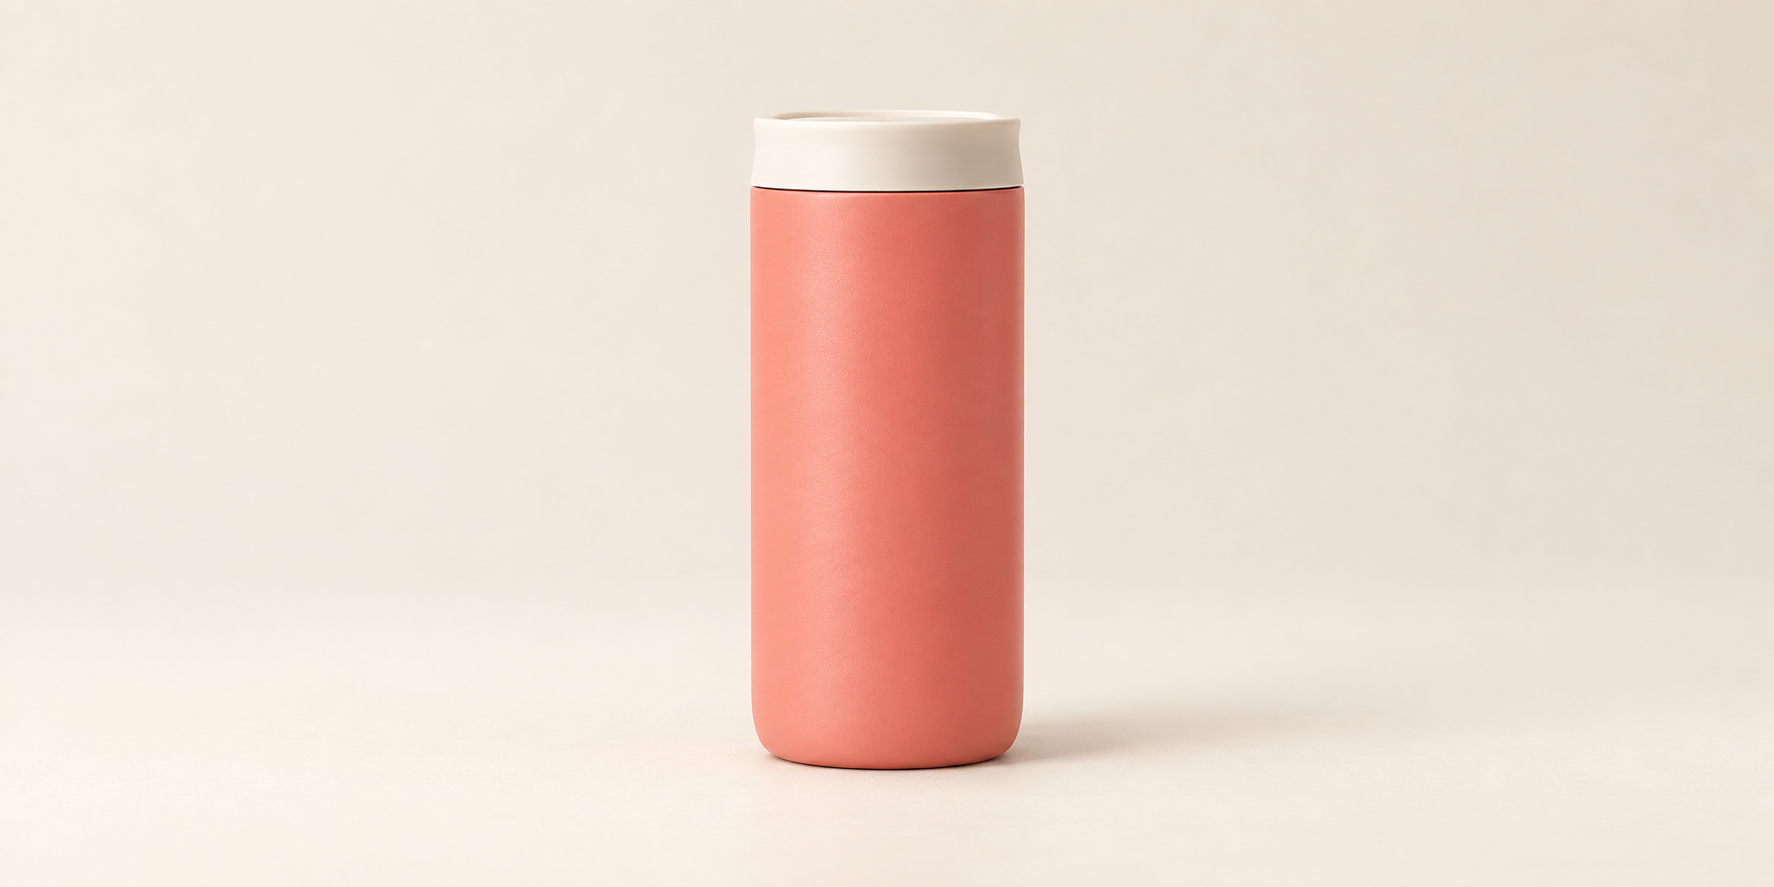
Download the prop reference. Inspect the cream lid, cylindrical body and rounded base before using it. For an actual ecommerce campaign, substitute your approved product photography and verify the object's shape throughout the finished clip.
Write a prompt that assigns references explicitly
A practical R2V prompt has five parts: asset roles, scene, action, camera and constraints. Write the role assignment first, then specify one observable action. “Make an amazing ad” leaves the production decisions unresolved. “Lift the coral tumbler once and return it to the table” gives you a concrete event to check.
Reference-label syntax depends on the interface. The fal Seedance reference-to-video schema uses tokens such as @Image1, @Video1 and @Audio1. Use the labels your provider actually displays. Do not assume a token copied from another interface still points to the intended file.
Use @Image1 for the creator's identity, short dark bob and sage overshirt. Use @Image2 for the coral tumbler's shape and cream lid. One continuous medium shot at a warm kitchen table. The creator looks toward camera, lifts the tumbler once to chest height, smiles naturally and returns it upright to the table. Camera remains still. Preserve the face, wardrobe and prop colors. No new people, no added logos and no scene change.
This is an original prompt to test, not a report of a successful Seedance render. The two downloadable images supply its image references. No motion or audio clip is required for this first creative brief. The camera can remain still while you evaluate identity and hand contact.
Three prompts for different creator use cases
Creator product introduction is the simplest starting point. Use the kitchen prompt above for one lift-and-return action. Keep the prop visible and avoid opening the lid, pouring liquid and speaking at the same time. Those additional tasks can be tested after the basic action passes review.
Motion-led campaign variation adds a permitted camera reference. Only use this prompt after supplying your own appropriate video asset and checking its displayed label.
Use @Image1 for the same creator and wardrobe. Use @Image2 for the coral tumbler. Use @Video1 only for its slow forward camera movement, not its people, clothing or location. Place the creator at a quiet cream cafe table in daylight. She rests one hand beside the tumbler and glances from it toward camera. One continuous shot with a gentle forward move. Keep the creator and prop recognizable and keep the cream lid attached.
Short story reaction changes the narrative without adding a complicated physical task. A small expression can create a clearer test than a large action sequence.
Use @Image1 for the creator's identity, hair and sage overshirt. Use @Image2 for the coral tumbler and cream lid. One medium shot at the kitchen table. The creator notices that the tumbler is already beside her, briefly raises one eyebrow, then gives a small amused smile toward camera. Keep both hands resting naturally on the table. Locked camera, soft daylight, no extra objects, no transformation and no added text.
Download all three prompts and the reference role map. Replace the fictional scene details with your own brief. If you add dialogue, write a short line and review the spoken export; do not infer exact voice identity from the still reference. Add campaign captions in your finishing workflow so spelling and placement remain controllable.
Check the provider settings before you generate
The fal schema checked for this guide lists up to nine image, three video and three audio references, with no more than twelve files total. It requires at least one image or video reference. Output duration options run from four to fifteen seconds or auto. These are provider-specific documented limits, not universal controls across every Seedance interface.
For a first test, choose a short duration and one aspect ratio appropriate to your destination. Record the exact endpoint or model label, duration, resolution and audio setting. If the interface does not expose a control mentioned in another provider's documentation, do not hide that difference behind the general Seedance name.
Our example starts with two still references and one continuous shot. It leaves video and audio inputs out until they have a clear role. Uploading empty fields or naming a nonexistent reference in the prompt does not create the missing input.
Confirm the current charge in the provider before submitting. Budget for accepted clips rather than assuming every attempt is publishable. This article does not invent a universal free allowance, subscription price or native Seedance endpoint inside Clout.
Fix an ignored reference or drifting creator
| Problem | Inspect first | Useful next revision |
|---|---|---|
| The wrong person appears | Identity label and competing faces | Use one clean creator reference and name its role first |
| The product changes | Prop visibility and hand occlusion | Reduce handling and keep one side clearly visible |
| The motion clip dominates everything | Which parts of the clip are requested | Limit the reference role to camera movement |
| The shot adds an unwanted cut | Conflicting shot instructions | Request one continuous shot and fewer events |
| The hand merges with the lid | The contact moment and action count | Keep the lid attached and test a simpler lift |
| The expression changes unpredictably | Extreme turns or facial actions | Use a smaller expression and restrained camera move |
Change one major variable at a time. If you replace the creator photo, change the location and add dialogue in one revision, you lose a clear explanation of what helped. Save the accepted references with the corresponding prompt and settings so the next shot starts from an actual reviewed baseline.
A repeated failure may reflect an unsupported input, a provider constraint or a difficult brief. Simplification is a useful diagnostic, but it is not a guarantee. Keep the original and check the downloaded result rather than relying only on a small preview.
Review the finished sequence and build your next scene
Inspect the opening frame, the action midpoint, the ending and uninterrupted playback. In our kitchen example, the specific checks are the creator's face and bob, the sage wardrobe, the coral body and cream lid, the grip during the lift and the return to the table. Look for changes during motion, not only at the first frame.
Download the blank R2V review sheet. Its observation and decision fields are empty. Record what happened in your own render, such as a changed lid or an unrequested cut. No quality score or measured success rate has been prefilled.
Clout can help you build an original recurring creator and create reference photos and video scenes around that identity. Establish the character you want your audience to recognize, then direct each scene with a concrete action and a consistent visual brief. R2V is one production method within that larger creator workflow.
Continue with the camera movement prompt guide for motion direction, the product photography guide for reference review and the image-to-video guide when animating a finished composition is the better fit.


