An AI landscape generator can turn a scene brief into scenery for a film concept, illustration or visual pitch. Start with the terrain, depth and focal landmark, then choose the light. A clear environment gives later camera and character decisions somewhere coherent to happen.
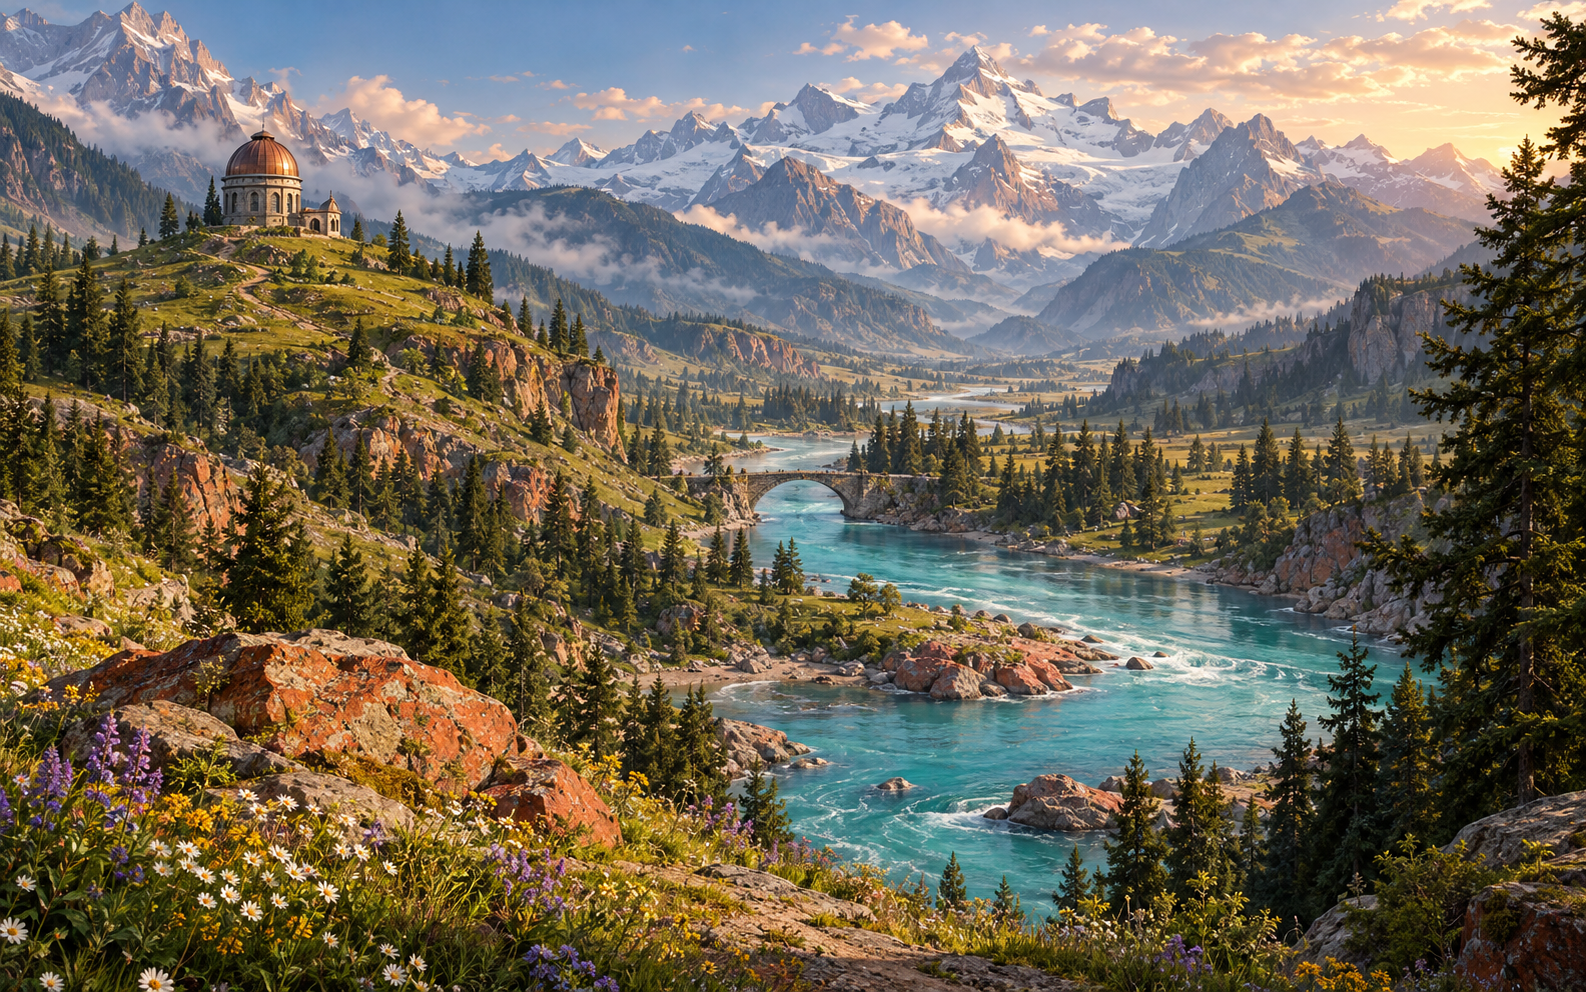
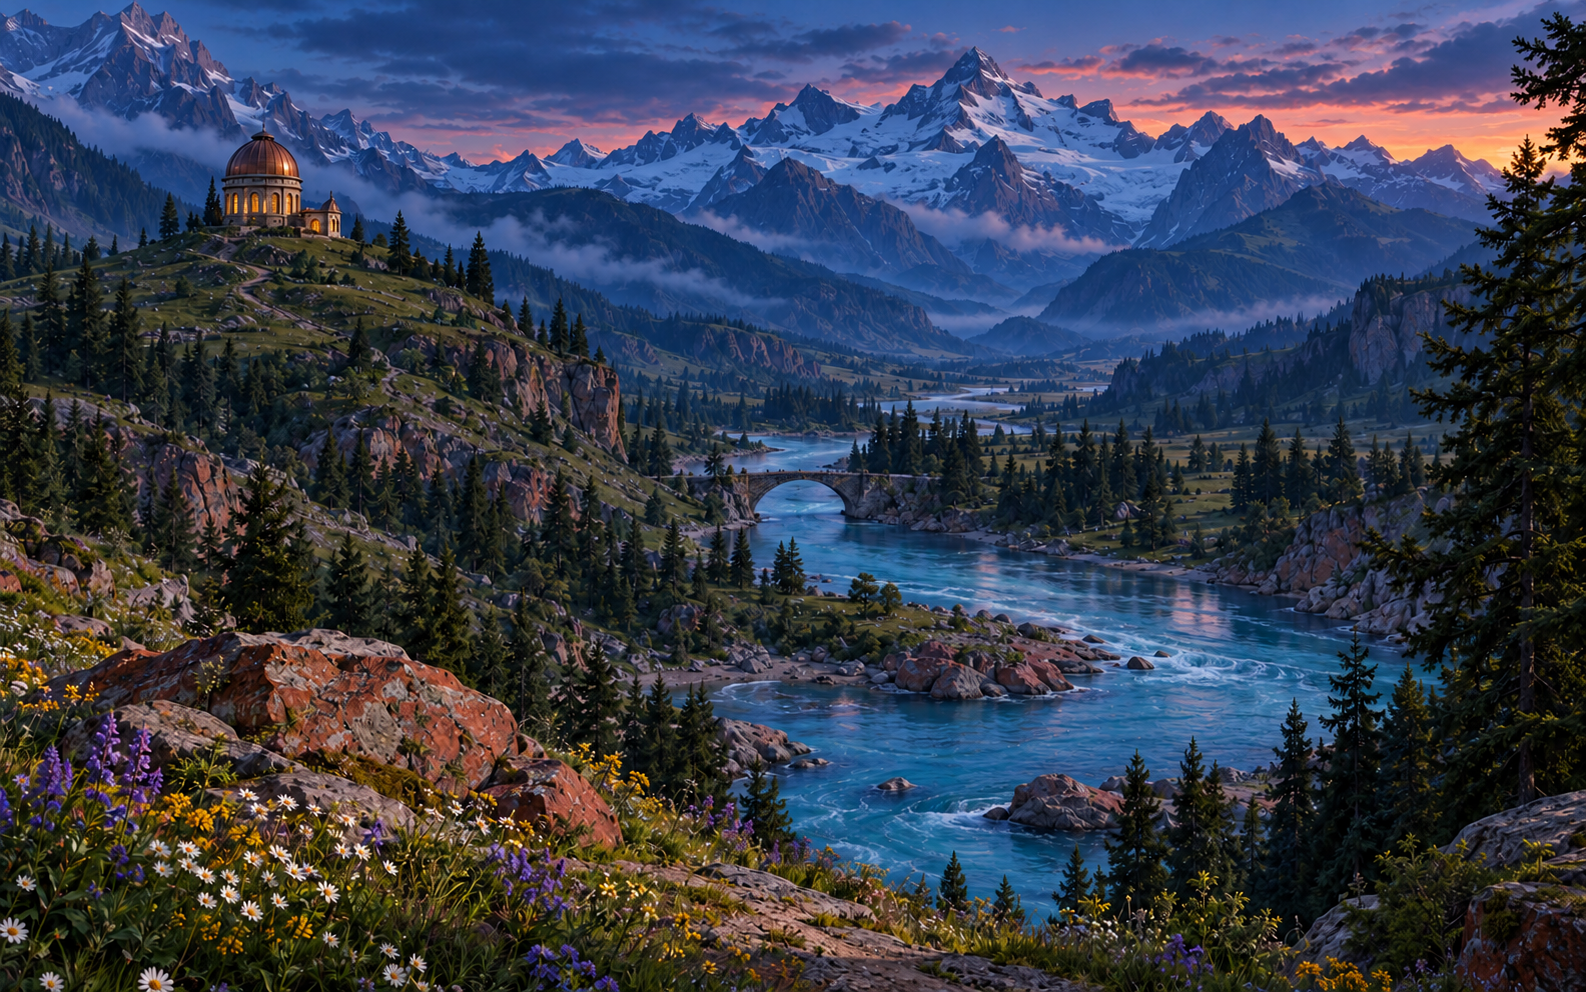
Our original example is a fictional alpine valley with a turquoise river, copper-domed observatory and one stone arch bridge. We generated an afternoon concept, then used that image as the reference for a blue-hour variation. Both native images, the scene brief and a filled review sheet are available below.
If your job is redesigning a real yard, use the separate AI landscape design guide for gardens and backyards. This page develops cinematic scenery and environment artwork.
How to create an AI landscape
- Choose the deliverable and camera framing.
- Describe foreground middle distance and background.
- Give the scene one focal landmark and a clear visual path.
- Generate a first concept and inspect the native image.
- Use an accepted reference for a focused lighting or weather variation.
- Review the actual result against the landmarks you intended to retain.
For this exercise, the visual path is the river bend. Foreground boulders and flowers establish scale, the bridge and observatory provide middle-distance anchors, and the mountain skyline creates depth. Those choices help the brief remain specific when the light changes.
Build the scene in depth layers
Begin with a few forms that can be recognized at thumbnail size. A foreground frame, a middle-distance destination and a distant horizon can carry a strong composition without filling every part of the image with detail. Let the viewer’s eye move through the scene toward the intended story point.
| Depth role | Our original brief | Review question |
|---|---|---|
| Foreground | Reddish boulders and meadow flowers | Do the edges frame the river without blocking it |
| Middle distance | A stone arch bridge and observatory on the left ridge | Are the landmarks readable and in a useful relationship |
| Background | Snowy mountains and atmospheric haze | Does the distant skyline support the scene’s scale |
These are visual roles rather than separately rendered 3D layers. The native result is a flattened image. If your production needs a terrain mesh, depth pass or independently movable foreground, plan and validate those deliverables separately.
Inspect the original afternoon concept
Download the native afternoon landscape. It is an original generated environment concept measuring 1586 by 992 pixels. The warm light, cyan river, copper dome and coral-toned rocks define the initial palette. It depicts an invented setting.
A wide alpine valley with a turquoise river making a broad S bend toward the lower right. Put a copper-domed observatory on the grassy left ridge and one stone arch bridge across the river in middle distance. Use reddish foreground boulders, meadow flowers, distant snowy mountains and soft warm afternoon light. Cinematic matte-painting finish, no people or text.
This copyable prompt captures the core scene decisions. The editable scene brief records the composition, depth roles and landmarks to review. It is a creative planning document rather than a named provider’s request schema.
Create a blue hour variation from the reference
Use the accepted image as a reference when you want to explore the same visual direction. Describe the intended change and list the landmarks to retain. That lets you review the result against a source instead of relying on the text description alone.
Keep the broad mountain silhouette, observatory on the left ridge, single stone arch bridge, river bend and foreground boulders recognizable. Change the warm afternoon light to cool blue-hour twilight, with a residual coral horizon and warm amber observatory windows. Keep the same wide viewpoint and cinematic painting finish.
Download the actual blue-hour reference edit. It also measures 1586 by 992 pixels. This is a completed reference-led image transformation made with the built-in image tool. We did not run the example through CapCut or ElevenLabs.
Compare landmarks and lighting as separate decisions
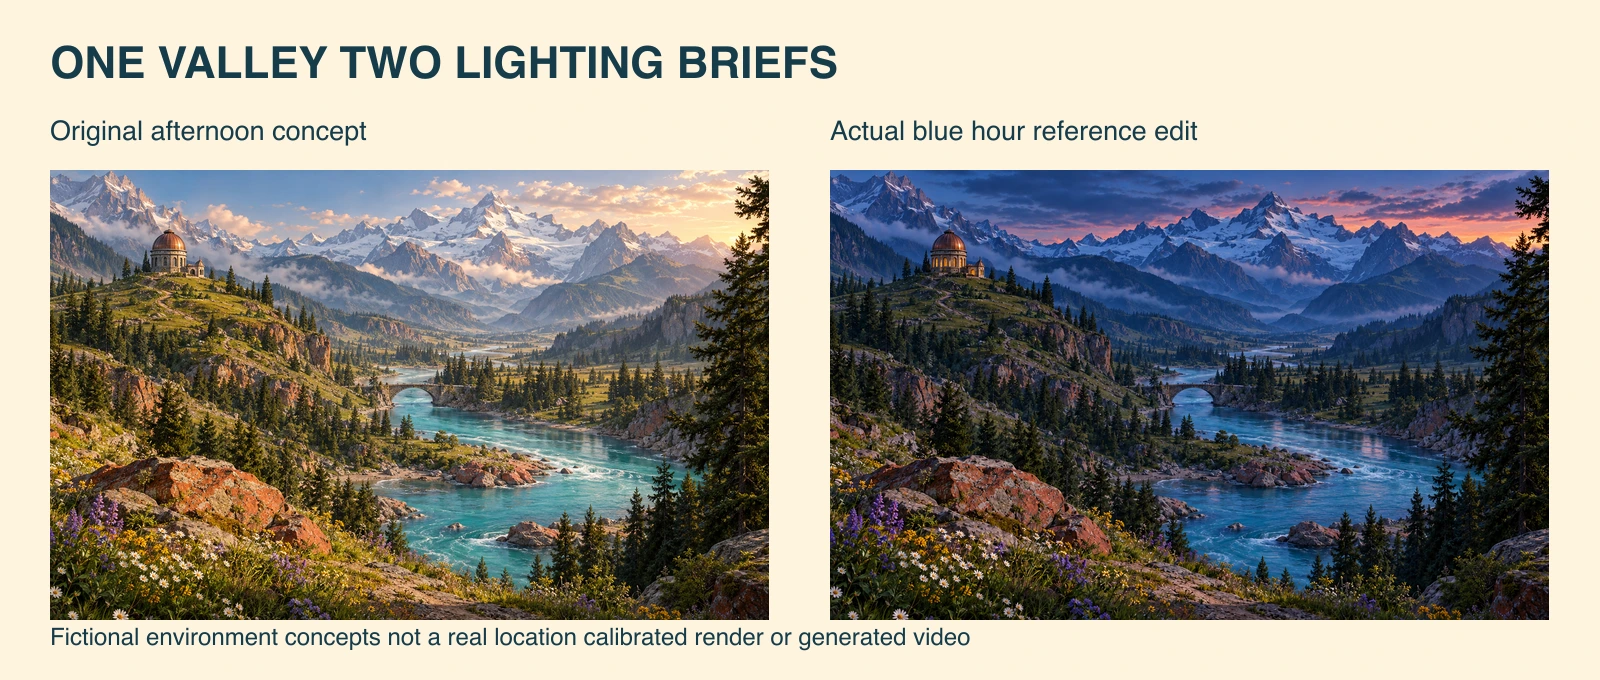
The edit visibly changes the sky and shadows toward blue, adds a coral horizon and warms the observatory windows. The observatory remains on the left ridge, one main stone arch remains in middle distance and the broad river bend stays recognizable. Water highlights and cloud appearance change.
The filled observation sheet records those findings. We reviewed both native images and the comparison visually. We did not measure exact geometry, reconstruct a camera or run a calibrated daylight simulation. Recognizable scenery and exact spatial preservation are different requirements.
Use the blank review ledger for your own candidates. Record the actual observatory or landmark position, bridge count, river course, skyline, requested atmosphere and any unrequested change before choosing a direction.
Choose text to image or a reference workflow
Text-to-image is useful when the place is still being invented. A reference-led edit is useful once an accepted view should guide the next candidate. These inputs help answer different creative questions, even when a product places them in the same workspace.
CapCut’s landscape page describes scenic generation from prompts or an uploaded image and conversational refinement. ElevenLabs’ landscape page describes reference upload and model selection. These are documented workflow routes, not the services used for our study or evidence of their output quality.
Check the actual model, supported references, dimensions and charge in the selected account. Choose the operation for the job rather than treating the phrase landscape generator as one universal model or account allowance.
Turn the concept into a cinematic shot brief
For an establishing shot, decide where the audience should look first and where a later character scene might occur. In this example, the river can lead toward the observatory while the bridge suggests a route through the valley. Keep the chosen still with the shot description so the next stage uses the intended place.
If the next deliverable is video, start with one short motion question. A proposed slow push toward the bridge is different from a large orbit around the observatory. Review changing architecture, riverbanks, horizon and foreground intersections throughout the returned clip. Our exercise contains still images, so motion remains a separate test.
Use the AI short-drama workflow for scene planning or explore Clout AI Cinema for supported production operations. Inspect the current reference inputs before preparing a generation request.
Prepare a background for the actual placement
A landscape establishing frame, a portrait book cover and a game background need different compositions. Choose where the title, character or interface will sit before committing to the crop. The observatory can disappear from a centered portrait crop even when it is clear in the wide source.
Keep the native artwork and make delivery versions separately. Inspect the final image at both full size and the size the audience will see. For key art with exact lettering, the movie-poster workflow covers the separate title and presentation decision.
Reproduce the comparison and keep the selected direction
The comparison source and reproduction notes rebuild the two-panel layout with Bun and Sharp 0.34.5. The layout shows the full supplied images. It reproduces the presentation rather than the generative process.
The provenance record identifies the native concepts, brief, observations and layout source by hash. The separate Build A World cover is editorial artwork based on the same visual direction; its rearranged composition is not one of the study results.
Explore Clout Image and Video for available image operations. Keep the source, accepted lighting direction and remaining production questions together. That gives the next scene, crop or animation a clear starting point.