What is a lighting diagram
A lighting diagram is a plan of the camera, subject and light positions for an image or scene. A useful diagram also records which way the camera faces, what each source is meant to do and which details still need testing. This guide covers photography and film light placement, including planning references for AI product images.
The ARRI Lighting Handbook explains key, fill, separation and background roles, along with light quality and intensity. StudioBinder’s lighting fundamentals also treats direction, quantity, quality and color as separate decisions. A position drawing is therefore a useful record, but it cannot replace looking at the actual image.
Our free planner records a simple top-down arrangement. Below it, an original controlled 3D study shows what changed when we enabled additional sources. Keeping the planning diagram and the rendered result separate makes it easier to see what the diagram does and what still needs a visual test.
Read the camera direction before placing a light
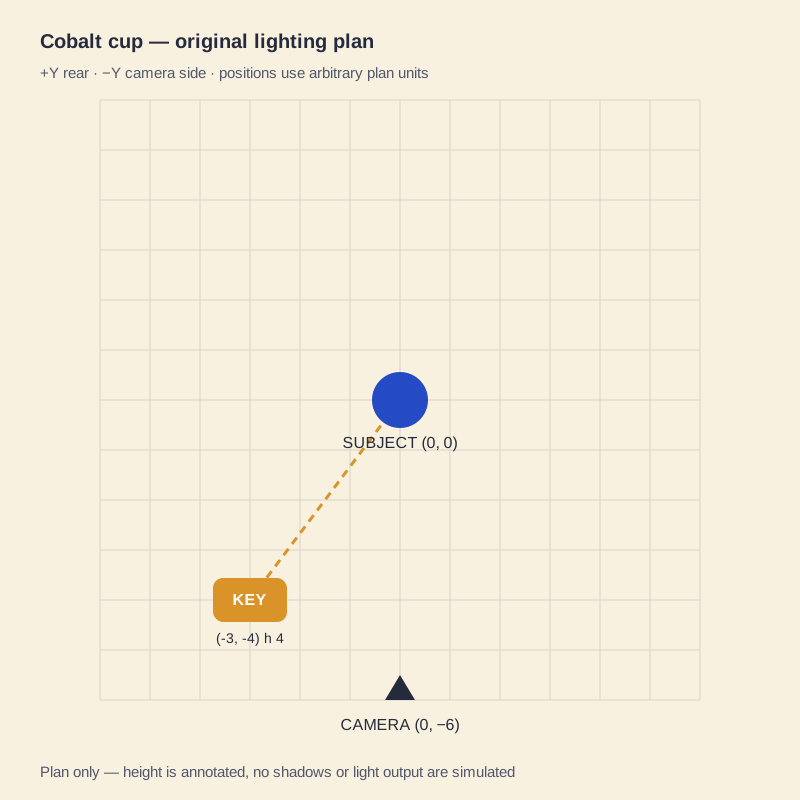
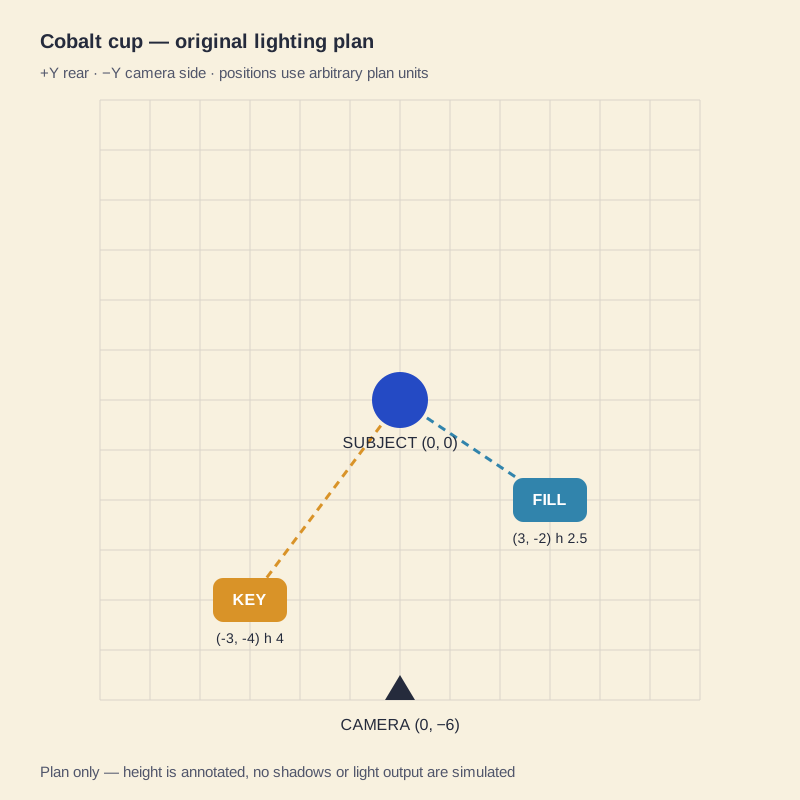
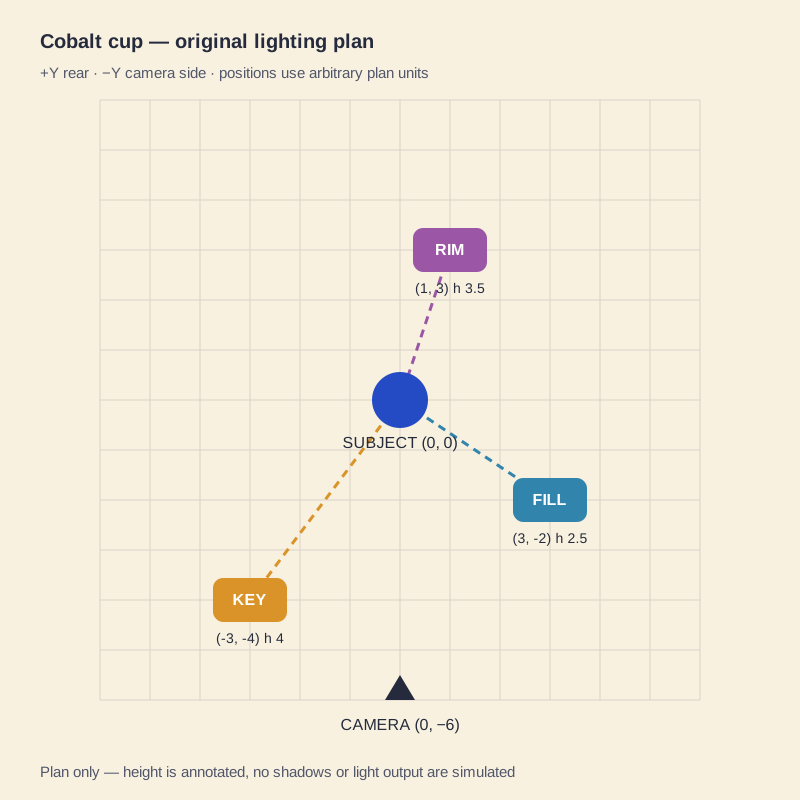
Choose the viewpoint first. In this page’s plan, the subject stays at (0, 0), and the camera is at (0, −6). The negative-Y side is the camera side; positive Y is behind the subject. Camera-left therefore corresponds to negative X in this particular frontal setup. Those conventions are stated on the diagram so another reader can interpret the positions.
The axes use arbitrary plan units. A point at (−3, −4) is a location within the drawing, not a promise that a real fixture should be three metres left and four metres forward. The original Blender scene uses matching raw XY values for its sources; its native file and scene record preserve the actual 3D setup.
Height is annotated beside a source because a top-down view cannot show elevation directly. The maker does not calculate tilt, beam spread, shadows or occlusion. If you need those properties in a 3D test, inspect the native scene or build a separate lighting study. Changing the diagram leaves the example renders unchanged.
Use the free lighting diagram maker
Choose Key only, Key and fill, or Key fill and rim to load an original study preset. Open the position editor to change the project title, switch each source on or off in the plan, and edit its X position, Y position, height and purpose note. The subject and camera stay fixed so the exported drawing has an unambiguous orientation.
X and Y accept values from −5 to 5, and height from 0.2 to 6. A blank or out-of-range coordinate stops the preview and downloads until you correct it. The diagram supports three named source roles rather than an unlimited set layout. It is a small planning tool, with no exposure calculation or AI request.
- Download SVG saves the current vector diagram with source positions and annotated heights.
- Download CSV saves enabled states, coordinates, heights and complete purpose notes for a spreadsheet.
- Download editable JSON saves the title and all source fields for restoration in this maker.
Restore JSON when you want to continue editing a saved plan. SVG and CSV are presentation copies, not import formats for this tool. Drafts clear on reload, so save JSON before leaving or replacing the current preset. Invalid imports leave your current plan intact. Text stays in the current tab without cloud draft storage.
For a specific portrait pattern, inspect our Rembrandt lighting examples and independent loop and fill edits.
Understand the key fill and rim roles
| Role | Question to ask | Useful review |
|---|---|---|
| Key | What is the main source shaping the subject | Look at the dominant highlight and shadow direction |
| Fill | How much of the shadow side should remain visible | Check whether added light supports or flattens the intended shape |
| Rim or separation | Does the subject need clearer separation from its surroundings | Inspect the edge and any spill onto other surfaces |
These are jobs, not a required number of fixtures. An image can work with one source, and an ambient environment can contribute fill without a separate lamp. A source placed behind the subject can affect more than the edge: it may also change the floor, background or reflections. Judge the returned image rather than assuming a source name guarantees a particular result.
Source size, surface material, position and surrounding illumination all matter. Our cup is glossy enough to show visible reflections. A matte package, clear bottle or person would produce different evidence under the same arrangement. Use the diagram to communicate a starting intention, then test the actual subject and materials.
Inspect the original product lighting study
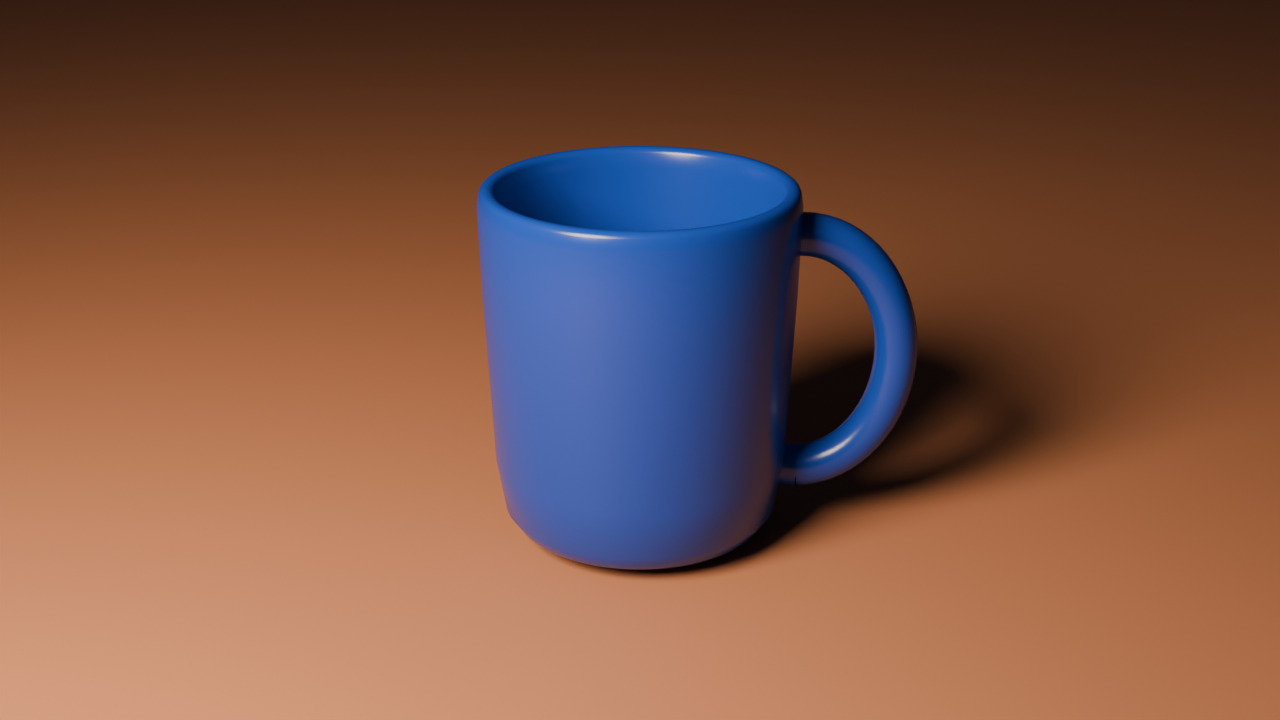
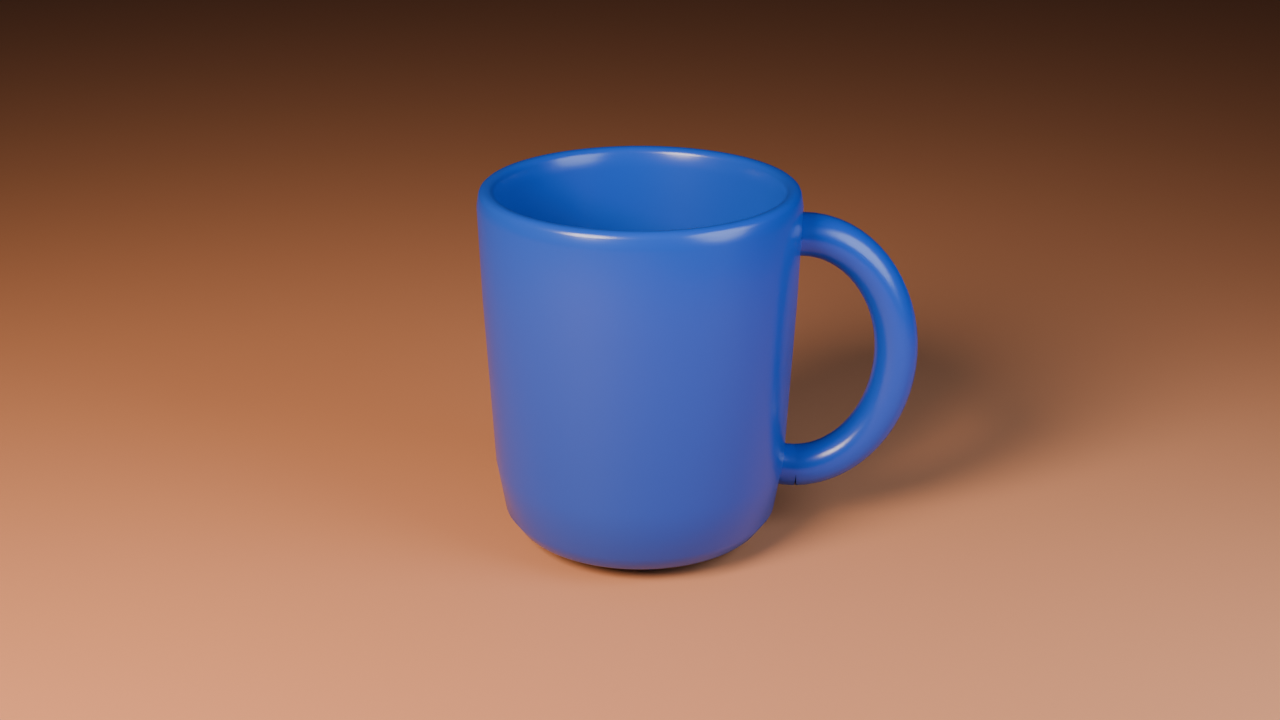
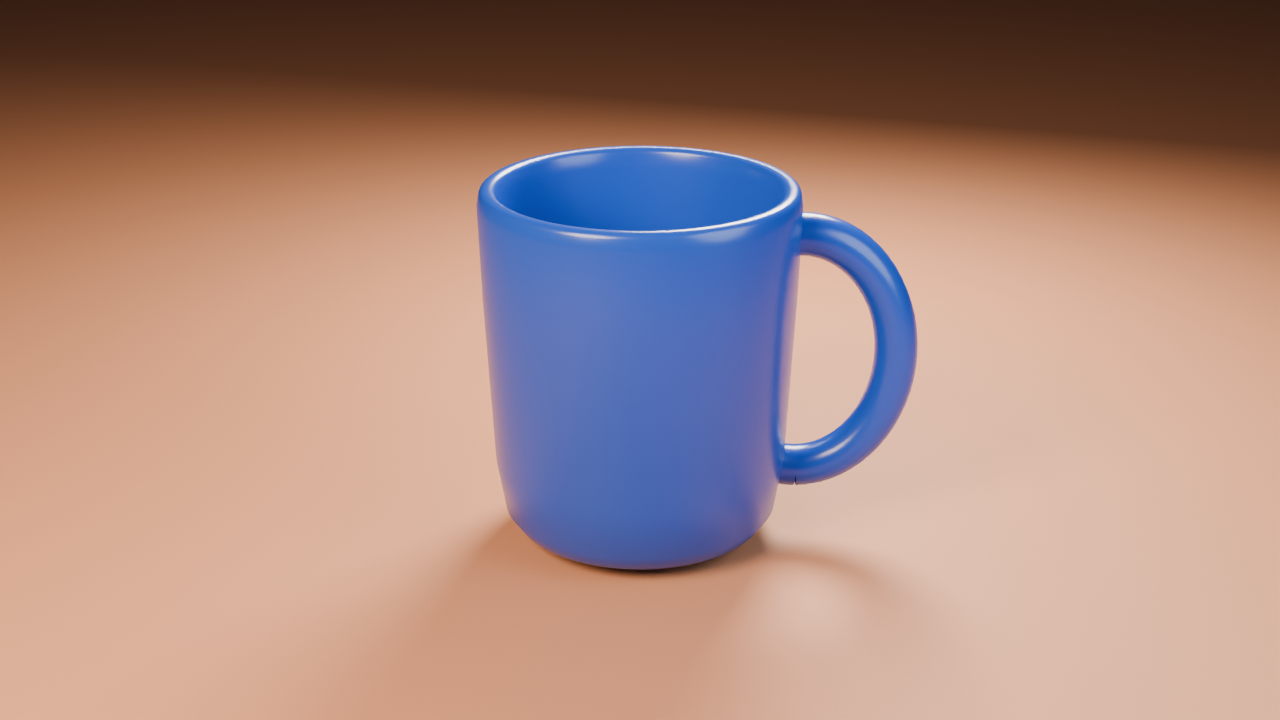
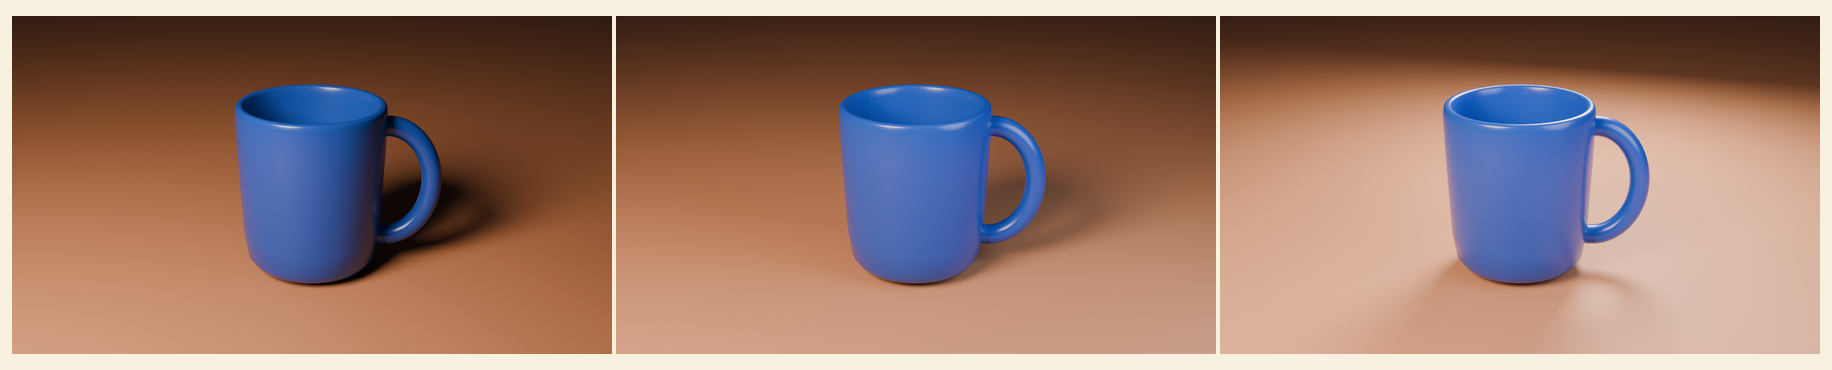
We built an original cobalt cup and loop handle in Blender and rendered three 1280×720 stills in Cycles. The camera, geometry, materials, floor, world, view transform, sample count and denoising remained fixed. We enabled the key first, then the fill, then the rear source. A dim world background remains in every case, so the first frame is not a zero-ambient experiment.
| Case | Enabled sources | Visible change in this study |
|---|---|---|
| Key only | Key plus the same dim world | Darker handle side and a stronger floor shadow |
| Key and fill | Key and fill plus the same world | Brighter handle side and a changed reflection on the cup |
| Key fill and rim | All three sources plus the same world | A brighter upper edge and additional changes on the floor and background |
The third render is not an isolated rim-only pass. Its rear source affects the rest of the scene as well. The observations above describe these particular images; they are not measured contrast ratios or universal portrait-lighting rules. Download the scene settings for camera, source positions, source sizes, colors and Blender energy values.
The native Blender scene and original render script let you inspect the actual setup. Blender power values are renderer settings, not recommendations for real fixtures or electrical loads. The planner intentionally leaves power, source size, color and camera height outside its simplified controls.
Keep the plan and the result together
For each image, keep the diagram revision, scene or generation settings, source references and review notes together. A diagram that has been edited since a render was produced no longer describes that render. Save a new JSON revision when you move a source, and label any older comparison accordingly.
Our source pack includes a matching SVG and restorable JSON for each of the three original presets. The diagrams record positions and enabled states, while the native scene records the additional 3D parameters. The review notes explain the fixed conditions and the limits of the comparison.
Use the shot list guide when the next task is deciding coverage, or the color script workflow when the question is how lighting develops across story moments. A single lighting setup cannot establish an entire sequence’s visual progression.
Turn a lighting diagram into an AI image reference
A diagram can help you describe an intended light relationship before generating an image in Clout Image and Video. Translate the plan into visual language: a broad source from camera-left, a restrained lift on the opposite side, or a narrow rear highlight that separates a product edge. Preserve the actual product details in any references you approve.
For example, a proposed prompt could request a cobalt ceramic cup on a peach surface, with a broad camera-left key, gentle opposite-side fill and a restrained highlight on the upper rear edge. That is an authored starting brief, not a new AI output demonstrated on this page. The study images here are conventional 3D renders.
A diagram coordinate is not automatically a supported generative-model parameter. Check the selected model’s actual controls, use an appropriate owned reference and review the returned image for highlight placement, shadow direction and changed product geometry. If the result misses the brief, record the miss rather than treating the prompt as proof that the setup was followed.
Review a studio lighting diagram before sharing it
- State which side the camera faces and where the subject sits.
- Name each source by its intended role.
- Record the positions and annotate heights.
- Keep source size, power and material details in the appropriate scene notes.
- Compare the diagram with the actual image it is meant to describe.
- Save the editable revision and note unresolved questions.
For a reflective product, inspect the shape and location of the reflections as well as the shadow. For a sequence, check whether the lighting direction remains understandable as the camera changes. A useful plan makes decisions visible without pretending that an overhead drawing settles every production question.
Download the original diagrams and study files
- Key-only diagram and editable plan
- Key-and-fill diagram and editable plan
- Three-light diagram and editable plan
- Original position table
- Key-only render, key-and-fill render and three-light render
- Embedded-image printable example
- Native Blender scene, render script, scene settings and file provenance
- Complete original source pack
The printable HTML embeds all three renders. Open it in a browser to Print or Save as PDF. The cover uses the actual three-light render with authored typography and cropping. No physical photo shoot or generative image model is represented by these study files.