

Higgsfield lip sync searches usually mean one of three jobs: make a portrait speak, align a new speech track with existing footage or localize a speaking video. Start by identifying the job. A photo, a script and an existing recording are different production inputs, even when the finished clips all show a person talking.
This guide explains how to prepare those inputs, write a manageable first take and review the export. It includes original practice scripts and a blank timing checklist. The recording-studio image is fictional editorial artwork; it is not a frame from a Higgsfield generation. We have not measured a tool's lip-sync accuracy or success rate for this article.
Choose the lip sync operation before preparing assets
| What you want | Material to prepare | Operation to confirm | Key review |
|---|---|---|---|
| A new creator speaking your lines | A portrait plus a script or approved audio | Talking avatar generation | Identity, delivery and mouth timing |
| A different voice on recorded footage | The source clip and intended replacement voice | Voice change with the needed synchronization controls | Meaning, pacing and visual alignment |
| The same message in another language | Source video and reviewed target-language copy | Video translation with lip sync | Translation, pronunciation and timing |
| Narration over scenes without a visible speaker | Script, voice and scene sequence | Voiceover and editing | Clarity and scene pacing |
The last workflow usually does not require mouth animation. If the audience never sees the speaker, prioritize narration and editing instead. For choosing a recurring presenter, read the AI spokesperson guide. For the broader product decision, use the Higgsfield influencer workflow comparison.
What Higgsfield documents for talking avatars and audio
The official Higgsfield talking avatar page describes a presenter made from a portrait and a script or audio track. Its published sequence is to add speech, select a portrait and voice, then preview and export. It also describes generating a new face or using an authorized photo. Treat identity preservation and synchronization as capabilities to evaluate in your result rather than guaranteed quality.
The official Higgsfield Audio guide separates voiceover, voice change and video translation. It describes translation with automatic lip synchronization and a workflow that takes a source video and a target language. That distinction matters: changing voice timbre is a different brief from translating words or generating a new presenter.
Confirm the model, operation, duration, export settings and current charge in the interface you actually use. Do not transfer an advertised language count or output resolution from one model to every operation in the platform. The Higgsfield free access guide covers allowance checks separately.
Prepare a portrait with a clear mouth
Choose one fictional adult creator or an authorized adult subject. Keep the face unobstructed, with a readable mouth, a relaxed expression and enough resolution for the intended crop. A hand, microphone or product across the lips leaves the animation with a harder visual task. Heavy stylization can also change what a realistic speaking motion should look like.
Our original example uses a copper-haired creator in a cobalt shirt, seated at a recording desk. The microphone sits to one side so the mouth remains visible. This is a production concept for explaining the brief. A clean portrait crop may be more appropriate than the full studio scene for an operation that expects a face image.
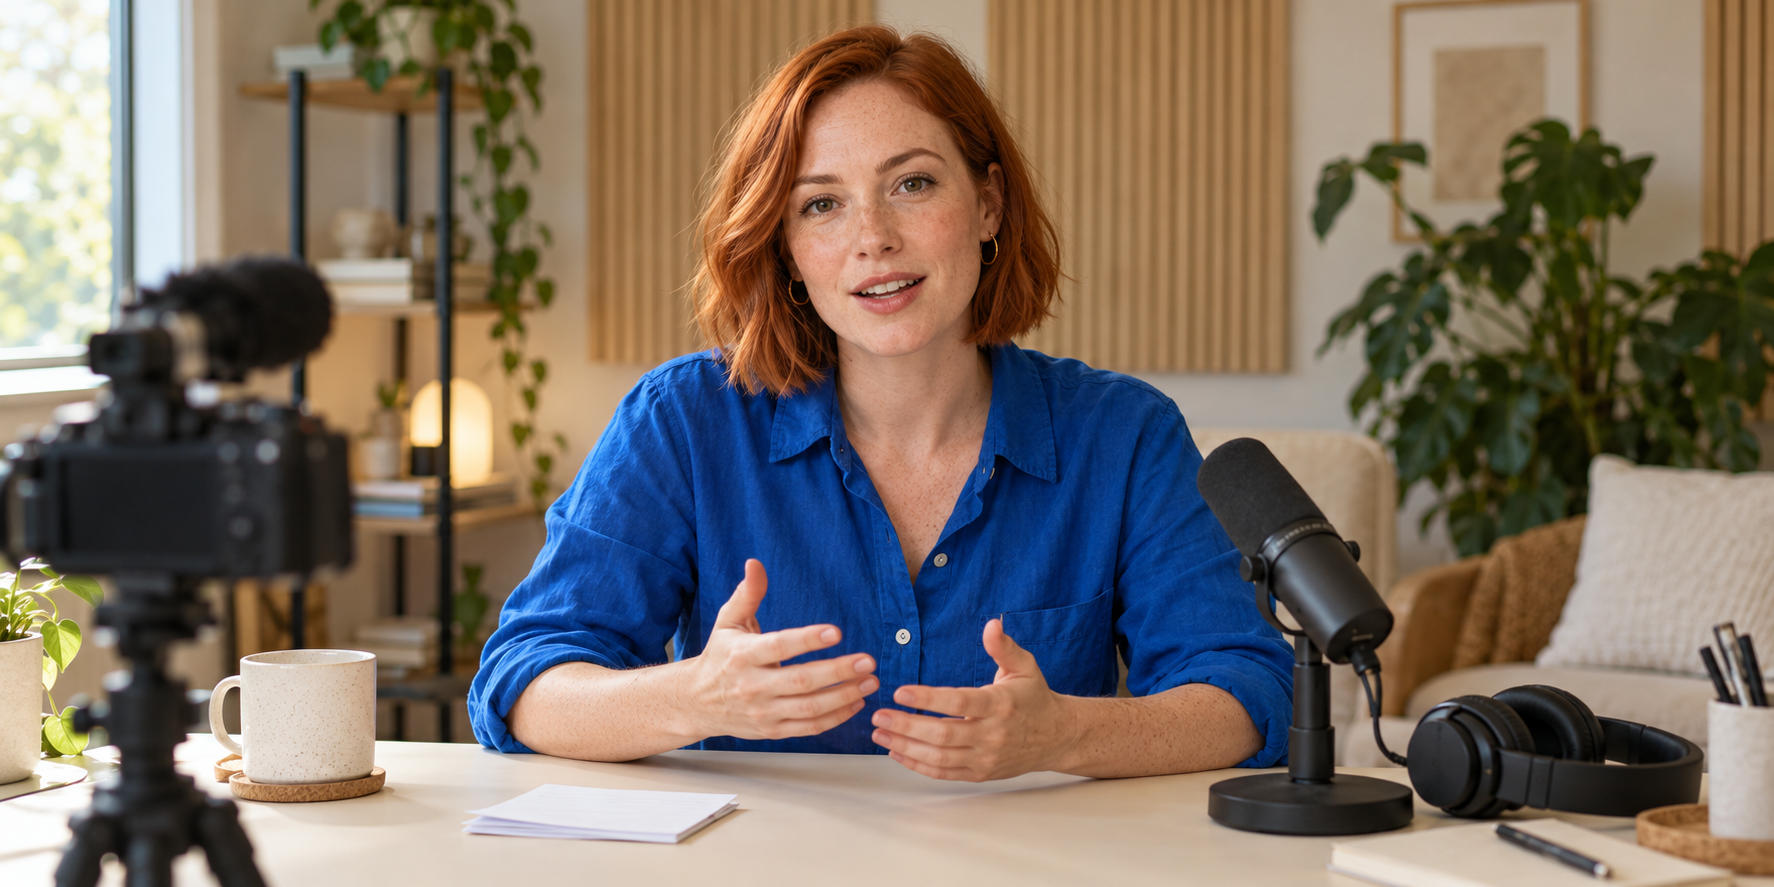
Download the original presenter scene reference. Use it to practice framing and script planning. Keep the accepted identity reference for later episodes instead of repeatedly replacing it with an unreviewed generated frame.
Approve the speech before generating the face movement
Listen to the intended take before committing it to a presenter. Check the exact words, names, numbers, pauses and emphasis. When the operation takes a script, prepare those decisions in the script and available voice controls. When it accepts audio, use the approved audio file so you can compare the finished speech to a known source.
For a first test, write one short idea in two or three sentences. Let the speaker pause naturally. Rushing a dense paragraph into a short output can make both pronunciation and facial timing harder to evaluate. Do not assume a written duration instruction will override the actual audio length or provider limit.
Speech cleanup and lip sync are separate tasks. Music, overlapping speakers, loud reverberation and abrupt edits can make the intended voice harder to follow. Prepare a clear single-speaker take where possible. If you need a multi-person conversation, verify that the selected operation supports assigning each voice to the intended visible speaker.
Three original scripts for a first creator take
These scripts are original practice material, not a testimonial, measured ad result or generated audio sample. They keep the meaning simple so you can concentrate on delivery and synchronization. Adapt the claims to your actual product before publishing an ad.
Creator introduction
Hi, I'm Maya. I turn everyday ideas into short stories. Pick one moment, keep the message simple, and give your next video a clear ending.
Casual product moment
I came in for one mug. Somehow, I'm still choosing the color. The blue one matches my desk, but the cream one is making a very strong case.
Helpful mini tutorial
Before you record, move the microphone to the side. Keep your mouth visible and leave a little room above your head. Now try one short line and listen back.
Download the three scripts and delivery brief. Start with a conversational pace, one speaker and a restrained expression. The mug example invites a playful tone without requiring complicated product handling. The tutorial is a script about recording; it is not proof that the generated presenter performed those actions.
Build and review a short talking avatar take
- Choose the operation for a new portrait presenter, existing-video edit or translation.
- Prepare the identity asset and confirm the intended crop, wardrobe and mouth visibility.
- Approve the script or audio with the correct words, pronunciation and delivery.
- Set the available controls and record the model, voice, aspect ratio and export settings.
- Generate a short take with one message, keeping the files and brief together.
- Download and review the complete result before adding captions, music and campaign variants.
A small preview is useful for spotting a gross failure, but it can hide unstable teeth, a changing jawline or a late mouth closure. Inspect the downloaded file at a comfortable viewing size. Watch once for the meaning, once for the face and once for the relationship between sound and mouth movement.
Check timing without inventing an accuracy score
Pick clear words in your own take that include a visible lip closure, such as a word beginning with a b, p or m sound. Compare the audible moment with the visible movement around it. Do not demand one fixed mouth shape for every letter: speech articulation changes with neighboring sounds and delivery.
Check the start and end as well as the middle. A face that moves before the voice begins, keeps talking through a pause or closes late at the final word can feel wrong even if another sentence looks convincing. Review natural playback too; frame inspection alone can overstate a defect that the audience barely notices.
| Review moment | Observe | Useful decision |
|---|---|---|
| Opening speech | First audible word and initial mouth movement | Accept, regenerate or investigate offset |
| Clear lip closure | Visible closure near a selected spoken sound | Record the timestamp and mismatch |
| Pause | Whether movement follows the intended silence | Check for unwanted continued speech motion |
| Ending | Last word and return to a resting expression | Check for a cutoff or delayed mouth movement |
| Full playback | Identity, pronunciation and natural delivery | Approve the complete take or revise |
Download the blank speech and mouth-timing review sheet. It leaves timestamps, observations and decisions empty. Fill it with evidence from your own output rather than treating the sheet as a certification.
Fix an offset before rerendering everything
If the mouth and audio appear displaced by a similar amount throughout the clip, inspect the editing timeline and playback environment before generating another take. Confirm that an added voiceover track starts at the intended time and that the export uses the correct track. Compare the original download with the edited file to locate where the discrepancy appeared.
If synchronization varies within the take, a simple track shift may fix one word and break another. Try a shorter, clearer speech take and a face with less extreme movement. If the identity changes during a head turn, reduce the turn and inspect the source crop. These are diagnostic revisions, not guarantees of a successful render.
If the wrong words are spoken, repair the script or audio first. If only the caption is wrong, repair the caption instead. Keeping speech, facial animation and caption files separate makes the cause of a defect easier to identify.
Localize a message and preserve its meaning
Review the target-language script before producing a localized take. Names, prices, measurements, jokes and calls to action may need specific treatment. Use a fluent reviewer for the message and pronunciation; a convincing face does not prove the translation is accurate.
Keep each accepted language version with its own speech asset and captions. Do not use the source-language word timings as proof of the target version's alignment. Translation can change the phrase length and pause pattern, so inspect each export as a separate performance.
Connect the speaking clip to a recurring creator
Clout lets you build an original creator and generate photos and video scenes around a recognizable identity. Establish that character before making a series of hooks, tutorials and product moments. A useful creator brief records the appearance, tone, setting and message so each episode belongs to the same content brand.
Choose the speech operation that fits the job and bring the approved take into that campaign. Continue with the consistent creator workflow, the UGC voiceover alternatives guide and the reference-to-video guide for the next production decision.


