An anime music video creator should help you connect a song to a visual idea. A series of unrelated attractive shots is easy to assemble, but it often misses the feeling that makes a music video replayable: a recurring character, a motif that changes with the track and a cut that lands where the music asks for it.
Use this guide for an original anime-inspired music video made from your own character and story. If you are editing existing animation, the timeline principles still apply, but use footage and music you have permission to publish. The free planner lets you listen, mark timestamps and attach scene notes. It creates an exportable production plan; animation and the final edit happen in your chosen tools.
Choose an anime music video maker for the right input
| What you have | Route to evaluate | Check before committing |
|---|---|---|
| A song and an original character reference | Image-to-video shots plus a timeline editor | Reference support, usable motion and character stability |
| Existing footage to cut to music | A video editor | Frame-accurate cuts, audio controls and destination exports |
| Live-action footage you want to restyle | A compatible video-to-video route | Motion preservation and stability through the full clip |
| Audio with no storyboard | An audio-led music-video service or a manual scene plan | How you revise scenes and control the resulting edit |
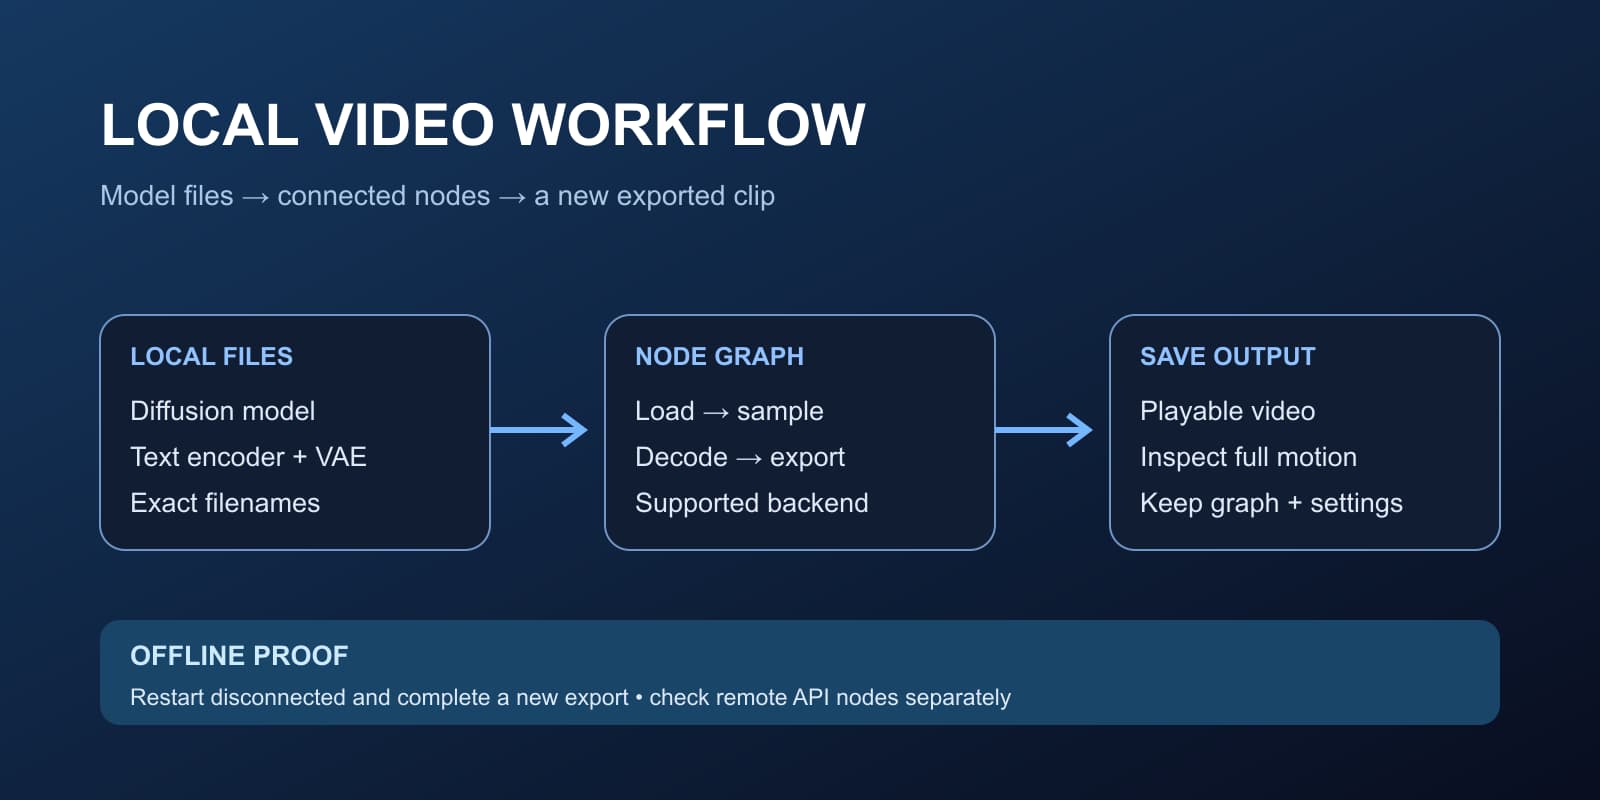
| A requirement to work locally | A downloadable model and local editing workflow | Hardware, runtime compatibility and model terms |
For example, Tunee's product page describes uploading audio and supplying a visual brief for an anime-style music video. Treat its speed, resolution and quality statements as provider claims until you test the specific route. For direct image-to-video shot production, Runway's guide explains how an input image provides visual composition while the text directs movement. These are different levels of control, not interchangeable buttons.
If local generation matters, read the open source video setup guide. Pick a route based on the input and revisions your project needs. A still-image tool can establish the look, but it does not by itself deliver a finished animated music video.
Mark musical phrases before generating shots
Listen once without writing prompts. Identify the beginning, verse, chorus, bridge and ending where those sections exist. Then listen again and mark the transitions that change the energy. A quiet instrumental piece may need long visual phrases; an energetic chorus may benefit from a short sequence of cuts. You do not have to cut on every beat.
In the planner above, load a supported audio file, play it with the native controls and name a moment such as “First chorus.” Enter a scene note, then choose “Mark current playback time.” The tool records the player's current position. You can also enter a time manually, which is useful when your editor already has exact markers.
Use Seek to revisit a cue and Delete to remove an accidental marker. Cues are exported in chronological order, including deliberately simultaneous markers. The tool rounds most timestamps to milliseconds; the final timing should be checked against your editor's frame grid. Download the JSON or open the copy panel before leaving the page. Changing the audio clears the old cues, and refreshing clears this session.
The planner does not upload audio, infer tempo, transcribe lyrics or detect beats. It is a lightweight listening and scene-planning workspace. Use your own listening and the final timeline to decide whether a mark is a musical accent, a section boundary or merely an accidental tap.
Build one visual story around the song
Choose a clear transformation for the video. In our original example, an adult courier carries an amber lantern across a quiet coastal city. The verse shows isolated rooftops, the chorus returns to the same city with more visible light, and the ending resolves on the lighthouse. The recurring lantern makes the sequence feel like one idea.
Connect emotional changes to visual changes: framing, movement, light or distance. The chorus can widen the scene rather than introduce a completely different character. The second chorus can return to the same motif with a small change in state. Repetition becomes meaningful when the audience can recognize what changed.
| Proposed cue | Scene role | Example visual |
|---|---|---|
| 0 seconds — Intro | Establish the world | Quiet coastal rooftop and distant lighthouse |
| 8 seconds — Verse | Introduce the lead | Courier listening, scarf moving in a breeze |
| 20 seconds — Chorus | Reveal the motif | Amber lantern illuminating a small courtyard |
| 32 seconds — Return | Echo an earlier image | Same rooftop with a changed light pattern |
| 40 seconds — Ending | Hold the resolution | Clean lighthouse view and editor-added title |
Download this example cue sheet. Its timestamps are illustrative, not detected from a song, and its scenes are ungenerated production ideas. Replace the times with the actual track you intend to use. A forty-second excerpt can be a useful test before extending the same idea across a full song.
Keep a consistent character and style record
Choose one linework treatment, shadow style, palette and background approach. Describe the actual visual properties: clean cel shading, hard-edged costume shadows, painted coastal backgrounds and restrained teal-and-amber color. Keep the character's hair silhouette, outfit and accessory stable across scene references.
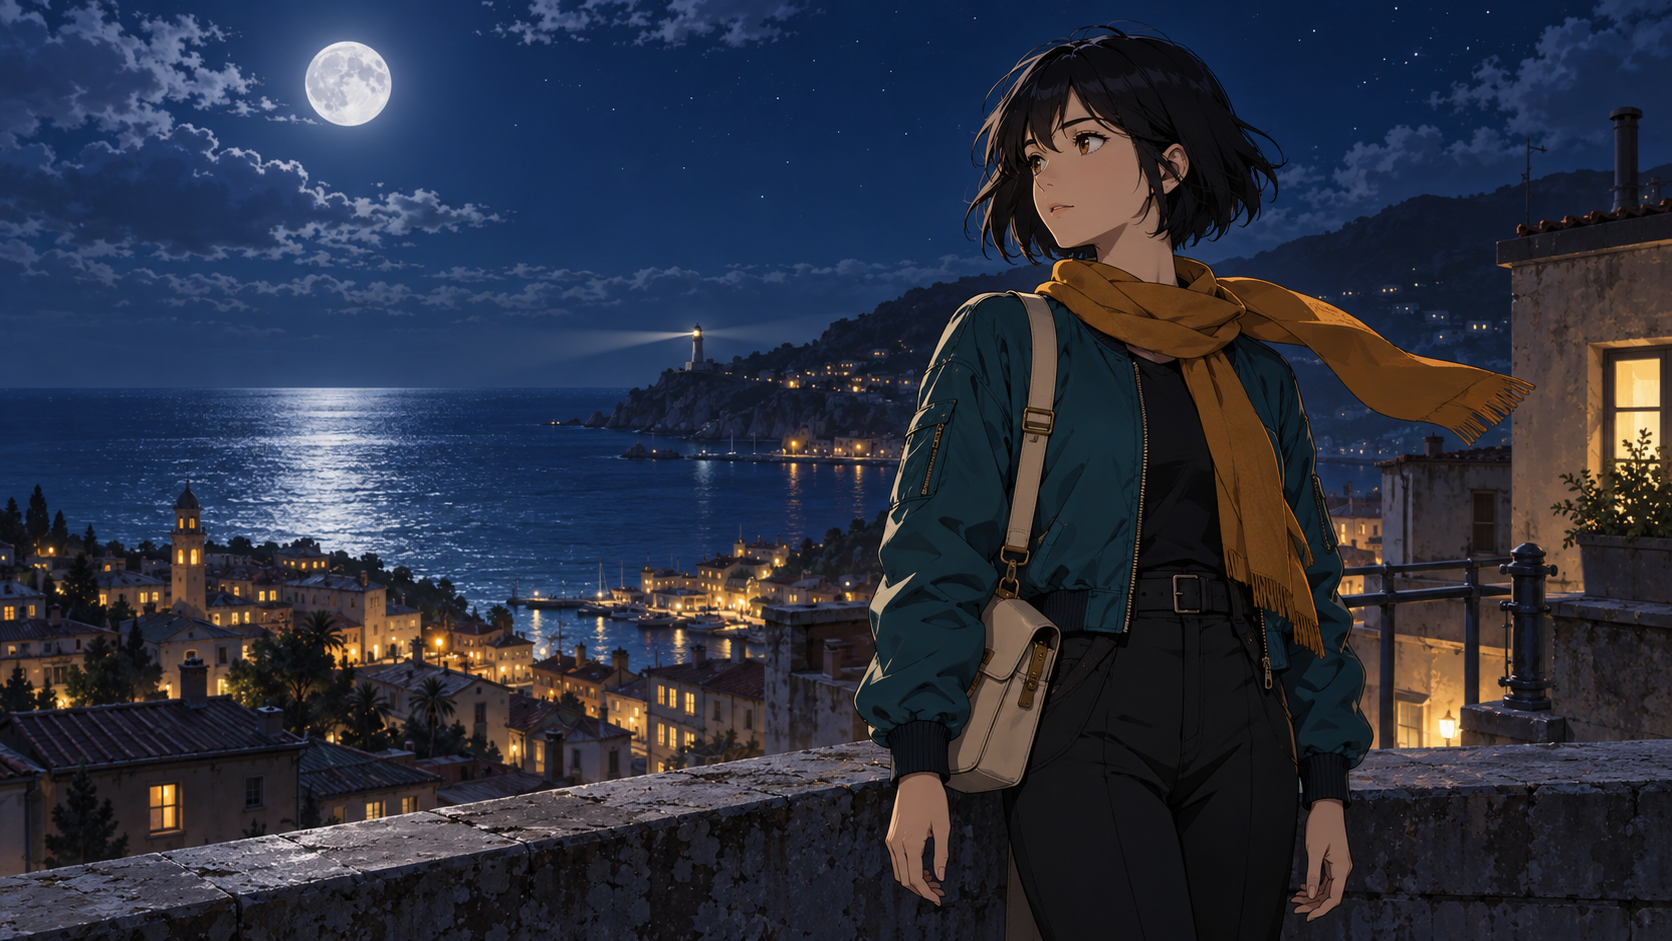
For a starting example, use the original anime courier reference PNG and its image generation prompt from our opening guide. This is an AI-generated still, not a tested video frame. It anchors the character design but does not supply every scene composition. Approve separate starting images for wide shots, close-ups and empty setting inserts before animation.
Put the style record beside the cue plan. If a verse close-up uses soft realistic skin rendering while the chorus uses bold flat shapes, decide whether that contrast is intentional. If it is accidental, revise the reference before generating another expensive take. Save the accepted images so each shot starts from a deliberate composition.
Write a motion brief for each scene
Separate the edit cue from the motion direction. “Cut to the next shot at 20 seconds” belongs in your timeline plan; a model generating an independent short clip does not know the final song position. Give it an approved scene image and one clear action. Check your chosen route's controls rather than assuming it receives your entire soundtrack.
Approved rooftop image. The courier slowly raises their gaze toward the distant lighthouse. A gentle breeze moves the amber scarf. The camera makes a restrained forward move in one continuous shot.
Approved courtyard image with the amber lantern on a low stone ledge. The light brightens gradually while the surrounding shadows shift slightly. The camera stays locked.
Approved coastal skyline image. The lighthouse beam sweeps slowly across the horizon. Keep a clear open area for a title added later in the editor.
These are proposed briefs, not tested video prompts. Review the entire generated result, including the first and last frames. If the face changes during a turn, reduce the turn or choose a clearer pose. If a hand interaction fails, use a separate object insert rather than making the same complex movement the basis of every chorus shot.
Cut accepted footage to the actual audio
Put the final audio track in the editor and carry over your cue notes. Arrange accepted clips around the section boundaries. A generated six-second clip can supply a useful two-second section; preserve the part that communicates the intended action. Leave enough breathing room around the moments that deserve a hold.
Use the recurring motif to connect adjacent scenes. You might cut from the lantern's glow to a warm window, then return to the courier. Match the emotional direction and visual geography, not just the color. A dissolve is useful when you want the viewer to experience a gradual change; a direct cut is useful when the music introduces a clear accent.
If you change the song edit, revise the cues as well. A shortened introduction can shift every later scene. Keep the song filename and version with your plan so you do not finish the cut against an earlier mix. The planner exports the selected filename, but it does not verify a file's identity or save the audio.
Add centered captions without covering the story
Create lyrics, captions and titles in the editing layer. For short-form delivery, centered captions can be readable, but leave the expression and important props visible. Break lines by spoken or sung phrase instead of filling the screen with a paragraph. Use enough contrast to read the words over both dark and bright shots.
Preview descending letters such as y and j and inspect the text box at the final output size. Keep text away from platform controls and check the landscape and vertical crops separately. If you create multiple formats, reframe each one rather than assuming a center crop preserves the same story. Do not ask the image or video generator to draw your final lyrics into the artwork.
Review the full export before posting
| Check | Watch for | Fix |
|---|---|---|
| Musical timing | Cuts arriving early or late | Adjust to the actual audio phrase in the editor |
| Character continuity | Changed face, scarf or satchel | Replace the inconsistent take or starting image |
| Motion | Shimmering edges and broken contact | Simplify the action or use a cleaner segment |
| Captions | Clipped letters or obscured expressions | Resize, reflow and reposition the text layer |
| Ending | Abrupt audio cut or unreadable title | Give the resolution a deliberate hold |
Watch the whole export at normal speed and on a phone. Inspect the delivered file, not only the editor preview. For timestamped visual notes, use the video review workspace. For an opening sequence, use our anime opening shot planner. A longer narrative needs the separate anime episode production plan.
To build a recurring original character and create scene assets around that identity, start your character in Clout. Keep the listening plan, shot reviews and final music edit as deliberate parts of the workflow.