Can AI make a full anime episode? The useful distinction is between generating material and finishing a story. An episode can be assembled from AI-assisted artwork, animated clips, dialogue and sound. The difficult part is getting those pieces to agree: the same character, the same geography, the right reaction and a scene that still makes sense after the cut.
This guide gives you a production sequence, a downloadable pilot worksheet and a free workload estimator. It does not present a finished AI episode as evidence. Use it to decide what to test, what to budget and what to simplify before producing hundreds of shots.
What counts as a complete anime episode
A complete episode has a beginning, change and payoff. It also has intelligible dialogue when dialogue matters, deliberate pacing and an export that plays correctly. Runtime alone is not enough: a twelve-minute compilation of unrelated anime images has a different purpose from a twelve-minute narrative.
| Production route | What it delivers | What you still handle |
|---|---|---|
| Image-to-video shots and an editor | Short movements from approved scene images | Scene order, identity checks, sound and the final cut |
| Still artwork with camera moves | A limited-motion story or animatic | Composition, dialogue rhythm and honest presentation of the format |
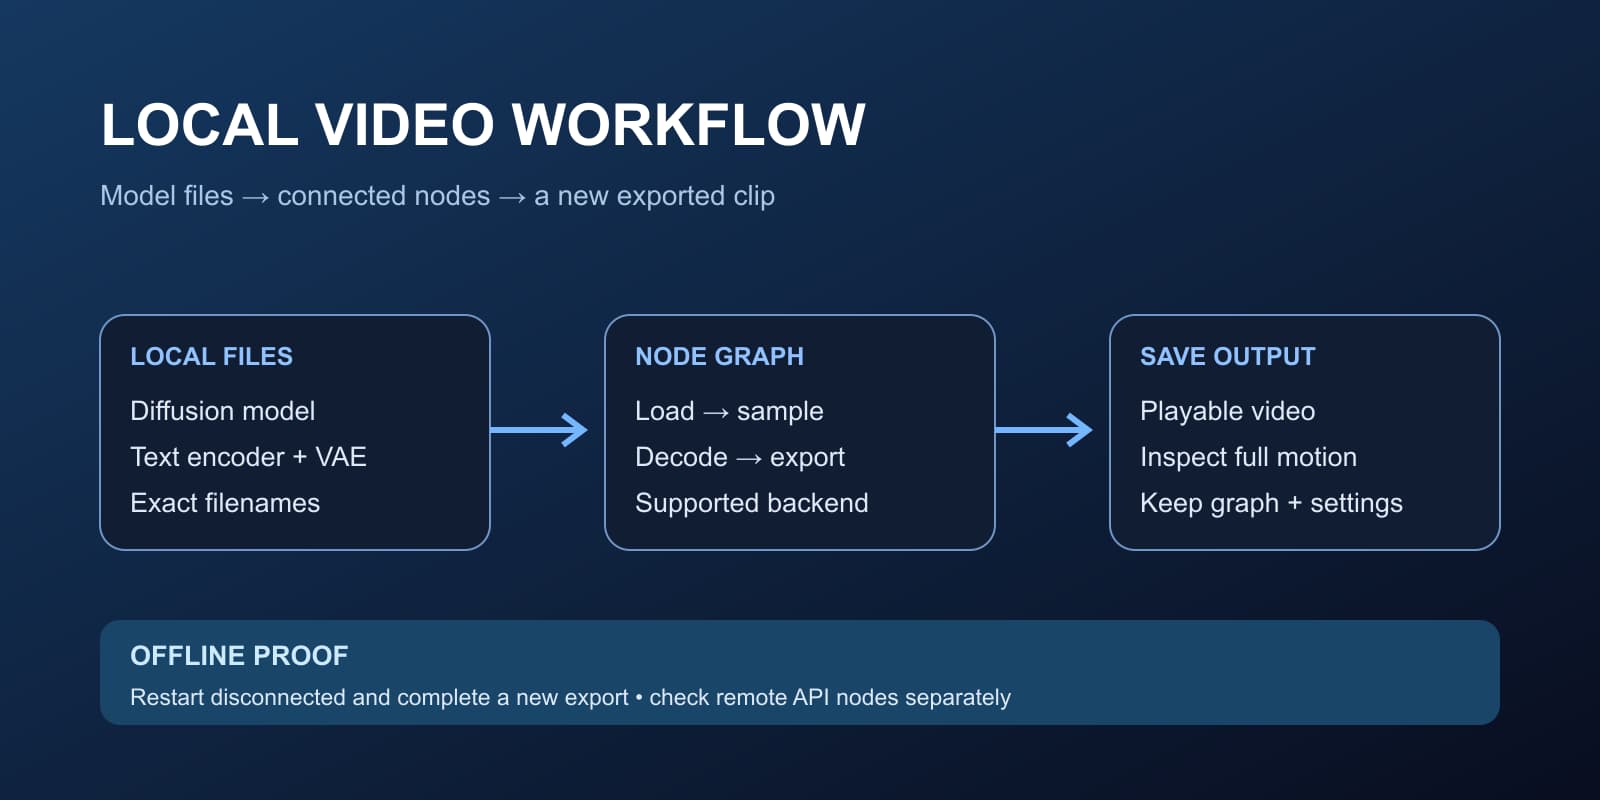
| A local model pipeline | Generated assets through your own compatible runtime | Hardware, setup, checkpoint terms and all editorial review |
| A research orchestration system | An experimental approach to coordinated production | Availability, reproducibility and whether it fits your project |
The AniME technical report describes a director-oriented system coordinating specialized agents across animation production. That is evidence of a research approach, not proof that a consumer service will finish your episode to a predictable standard. Check the actual workflow you can access.
Why the project needs many short shots
Start from a model's supported output length rather than the desired episode length. For example, Runway's current Gen-4-5 documentation lists two-to-ten-second generations. That route provides clips to assemble, rather than a twelve-minute episode in one generation. Other routes have different limits; verify the duration and input controls you intend to use.
A ten-second generation might provide only four useful seconds after you remove an unstable start, a drifting face or an awkward ending. Budget the full generated duration while planning around the usable segment. Keep still holds, reaction shots and existing assets in the timeline where they serve the scene; they can reduce the share requiring fresh motion without eliminating production work.
Read the shot and cost estimate correctly
The calculator above separates accepted footage from attempted generations. With its illustrative defaults, a twelve-minute timeline containing entirely new motion and four usable seconds per approved shot requires 180 approved shots. At an assumed average of three attempts per shot, that becomes 540 full six-second generations: 3,240 generated seconds. An entered rate of $0.05 per generated second produces a video-only scenario of $162.
Those are assumptions, not a quoted package or a measured rejection rate. Change them to match your own pilot. If you only need new motion for half the timeline, the same assumptions give 90 approved shots and 270 attempts. You still need artwork, dialogue and editing for the other half.
- Approved shots = round up animated timeline seconds divided by usable seconds per shot
- Generation attempts = round up approved shots multiplied by average attempts
- Generated seconds = attempts multiplied by the full generated clip length
- Video-only cost = generated seconds multiplied by your entered rate
Subscription credits, flat charges, minimum billed durations, taxes and free allowances can change the real invoice. Convert your own marginal cost into the input only when that is meaningful for your plan. Track image generation, voices, music and labor separately. A zero input here means zero modeled video charge, not a free entire episode.
Step one — Write a small episode you can stage
Choose one central action, a small cast and a location you can reuse. For an original example, an adult courier must restore a lighthouse before sunrise. The opening establishes the dark harbor, the middle reveals that the light has failed, and the ending shows a practical response. Write what the viewer must see to understand each change.
Separate necessary action from decorative action. A close-up of the failing lamp may communicate the problem better than a complicated sprint across three rooftops. Do not choose a long runtime just because a traditional television slot has that length. A coherent three-minute story is a better first production target than a stretched episode with no new information.
Step two — Record dialogue and build an animatic
Record a scratch voice track before expensive animation. Place dialogue, rough artwork and temporary sound on a timeline. This animatic reveals where a character needs time to listen, where a line is too long and where the story needs an extra establishing shot.
Keep the scratch version private until the chosen voice and music permissions are settled. For the final track, record or generate the lines under the permissions and terms that apply to your inputs. Mark each dialogue clip by speaker and scene. Preserve pauses that carry meaning; fitting more words into a shot is not always an improvement.
Watch the animatic without reading your script. If the location change is confusing here, polished motion will not fix the missing information. Resolve scene order first. You can also create an eight-shot anime opening as a separate exercise, but an opening is not a replacement for the episode's dramatic structure.
Step three — Approve character and location references
Create an identity sheet with the character's face, hair silhouette, outfit layers, palette and key accessory. Use a location sheet to record entrances, prop positions and lighting direction. Approve scene stills against those references before animating. A repeated description is helpful but does not guarantee identical identity in every result.
Track the courier's satchel side and the lighthouse lamp state through the sequence. If the lamp is broken in one shot and suddenly working in the next, either add the repair action or change the sequence. These story-state errors are easy to miss when inspecting isolated attractive images.
Step four — Produce a short pilot before the full episode
Download the ten-shot pilot worksheet. It contains a proposed 60-second sequence with scene purpose, reference notes, audio cues and review fields. Open it in a spreadsheet, replace the timings with your animatic and record actual attempts. The worksheet is a planning example, not generated footage.
Use the pilot to test your hardest recurring requirement: a dialogue close-up, a simple object interaction or a recognizable character moving across a shot. Keep the same reference and action when comparing generation routes. A beautiful landscape sample does not tell you whether the tool can handle the dialogue shot your story depends on.
Record the number of attempts, full generated duration and usable segment for each accepted shot. Update the calculator with those observations. If a recurring action fails repeatedly, simplify the staging or change the method before scaling the same failure across a longer episode.
Step five — Generate motion and review continuity
For image-to-video, describe a clear action in a shot built from an approved first frame. For example: “The courier looks toward the dark lighthouse and takes one measured step forward. A light breeze moves the amber scarf. The camera slowly tracks sideways.” This is a proposed motion brief, not a tested generation.
Watch the entire clip at normal speed and inspect the contact moments. Use our video review workspace to keep timestamped notes. Save both approved and rejected takes with a reason: identity drift, unstable linework, broken prop contact or incorrect story state. Revise the specific failing action instead of adding a longer list of adjectives.
| Failure | Practical revision | Recheck |
|---|---|---|
| The lead changes appearance | Return to the approved scene reference and simplify movement | Face, hair and costume across adjacent cuts |
| A prop changes shape | Use a clear insert or split the interaction into separate shots | Prop size, grip and final state |
| Dialogue feels disconnected | Rework pauses and reactions in the animatic | Audio timing and visible listening |
| The viewer loses the location | Add an establishing view or consistent screen direction | Entrances, exits and character position |
| The episode feels repetitive | Remove shots that add no new story information | Whether each cut changes what the viewer knows |
Step six — Edit sound and deliver the actual episode
Assemble approved shots around the locked dialogue. Add ambience and sound effects that support visible actions. Check speech clarity before adding a loud music bed. Keep titles, credits and captions in the editing layer so a wording correction does not require regenerating the scene.
Inspect captions in the actual export, including descending letters such as y and j. Test the intended landscape or vertical crop and watch the full final file on a phone. Check black frames, repeated frames, missing audio, sudden level changes and the ending. A successful individual generation is only one part of a successful final episode.
When to scale and when to shorten the story
Scale after the pilot shows that you can reproduce the important character, location and action requirements at a workload you accept. Shorten or restage when a key scene depends on repeated unstable motion, the edit cannot communicate the plot or the real attempts exceed your available budget.
For a local route, see the open source video workflow. For a hosted character and scene workflow, create your original character in Clout. Keep the episode plan, shot review and final edit as explicit production steps whichever tools you choose.