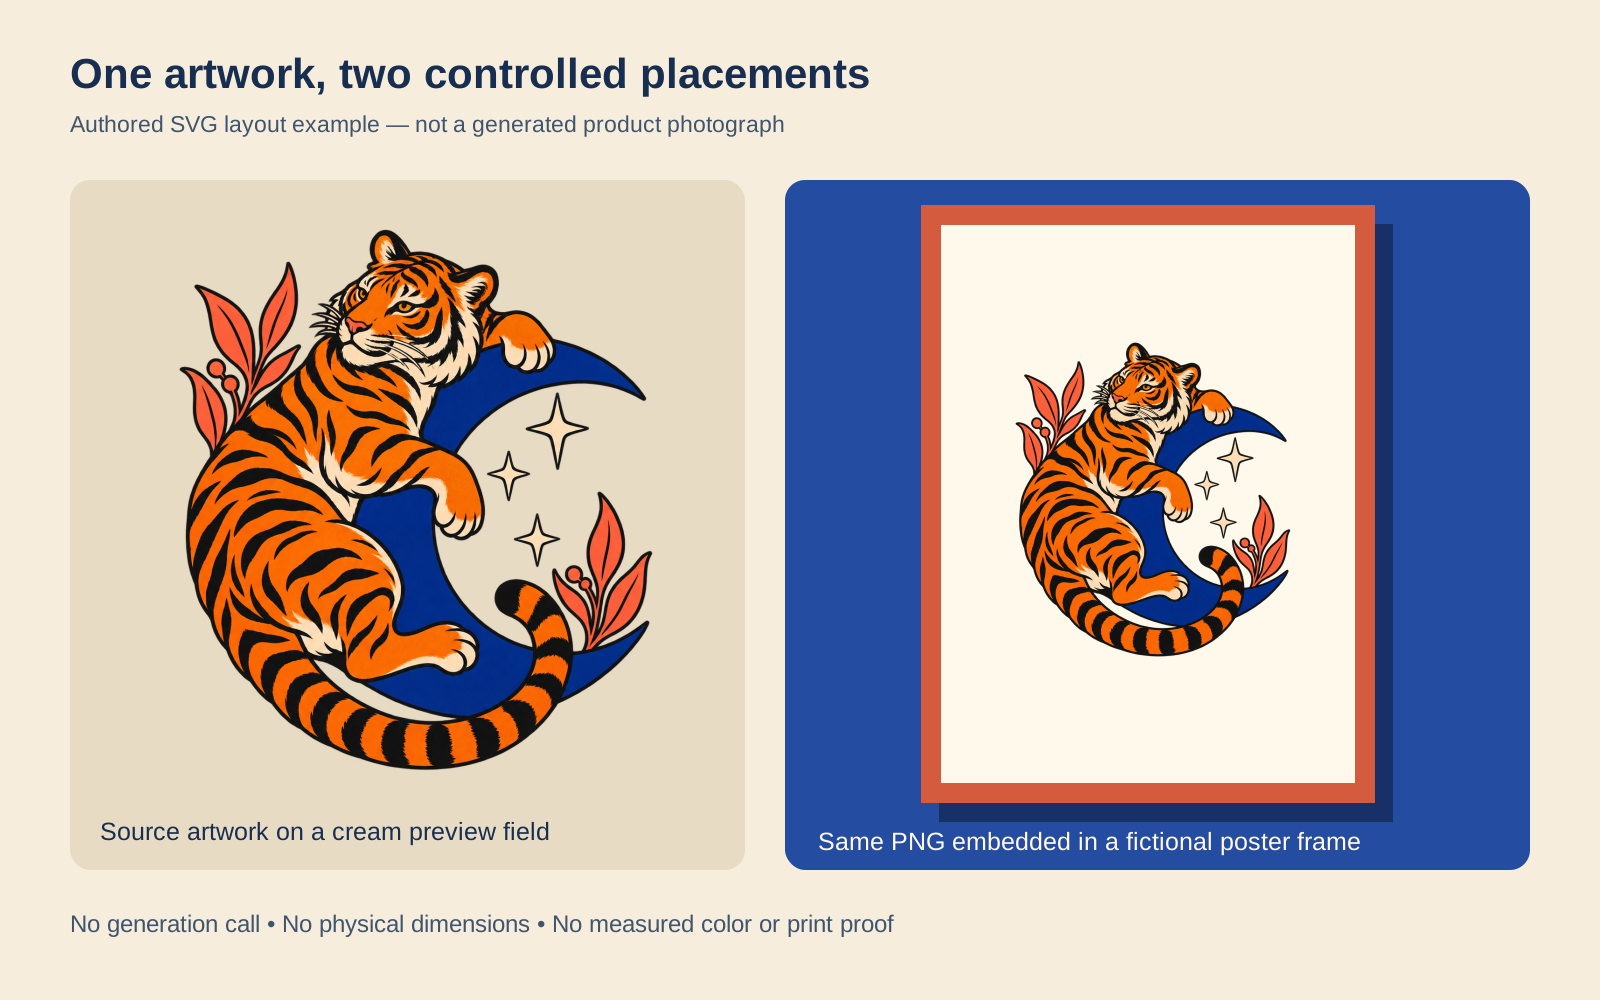
AI mockups help you see how a design might look on a product, in a campaign or inside a presentation. The useful starting point is an accepted design and a clearly defined surface. Keep those two references separate: a new image of a tiger is not necessarily a mockup of your approved tiger artwork.
This guide compares controlled artwork placement with generative product presentation. You can download our original poster-layout example, rebuild it from source and compare the same design with an actual reference-led T-shirt edit from our garment study.
Choose the mockup you actually need
| Task | Useful workflow | First acceptance check |
|---|---|---|
| Show an approved print on a flat poster | Place the source file in an editable frame layout | The correct artwork version and complete composition |
| Show artwork on a shirt or curved object | Approved template mapping or a supported reference-led edit | Design drift, surface shape and placement |
| Explore a new packaging direction | Generate a concept, then prepare exact panel artwork separately | Whether the format and hierarchy suit the product |
| Present an app or website screen | Place the real screenshot inside the intended device frame | Legible interface and an accurate screen state |
| Make a product campaign scene | Use accepted product references with a scene brief | Whether the item still matches the product being sold |
If you need a garment-specific process, use the AI T-shirt mockup guide. For boxes and labels, use the packaging design and handoff workflow. This page covers the decision and review process across surfaces.
Separate your artwork from the presentation
Keep a master file with the approved illustration, logo or exact wording. Then create a presentation file that places that artwork on the selected surface. A revision to the background should not quietly become a revision to the design.
Our example uses an original transparent tiger-and-crescent PNG from the T-shirt design study. Its recognizable anchors are an orange tiger, a cobalt crescent, three ivory stars and coral foliage. Those anchors give the reviewer something concrete to inspect instead of deciding only whether the picture looks attractive.
Inspect a controlled placement before trying a generative edit
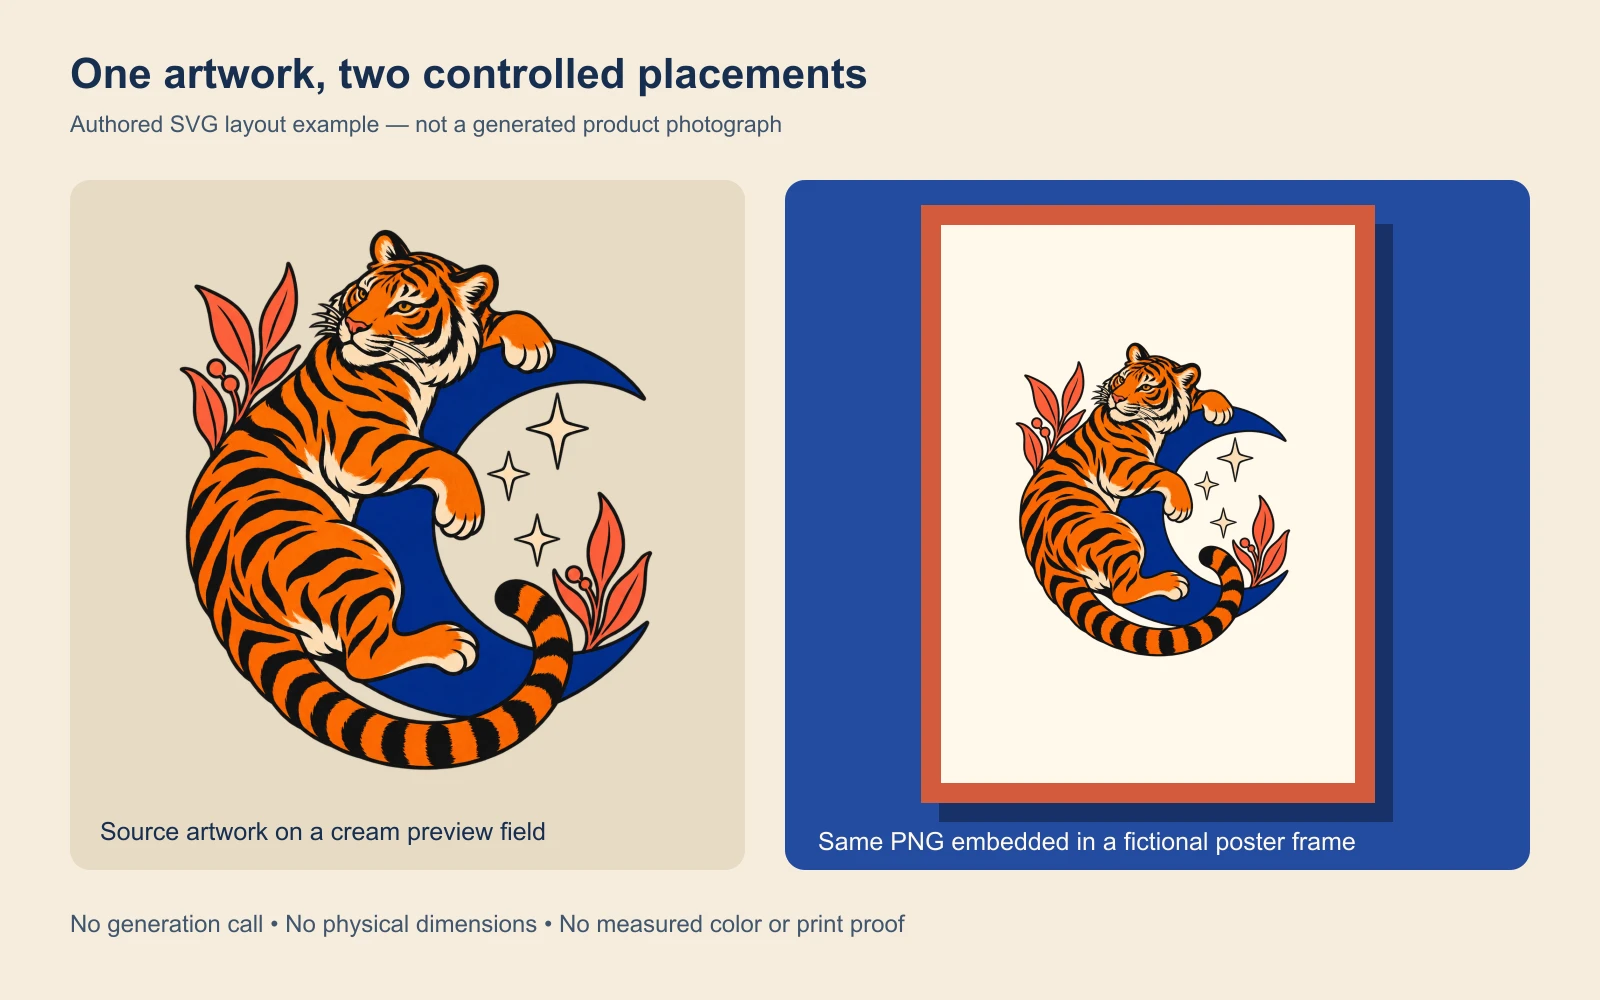
The left view puts the transparent artwork on a cream preview field. The right places the same file inside a fictional front-facing poster frame. Both SVG image elements contain the identical source PNG bytes. The poster artwork is scaled to fit its region with its aspect ratio preserved; it is not redrawn by a model.
This simple layout is useful when the immediate task is to approve a composition or prepare a client presentation. It does not simulate curved surfaces, material texture or realistic perspective. The frame is authored vector geometry, not a generated room photograph or a measured physical product.
Download the editable poster layout SVG or the rebuild package. The package includes the source PNG, Python builder, brief and filled review. Run python3 mockup-placement-source.py in the extracted folder to rebuild the self-contained SVG. It makes no network or image-generation request.
Compare the same artwork with a generative product edit
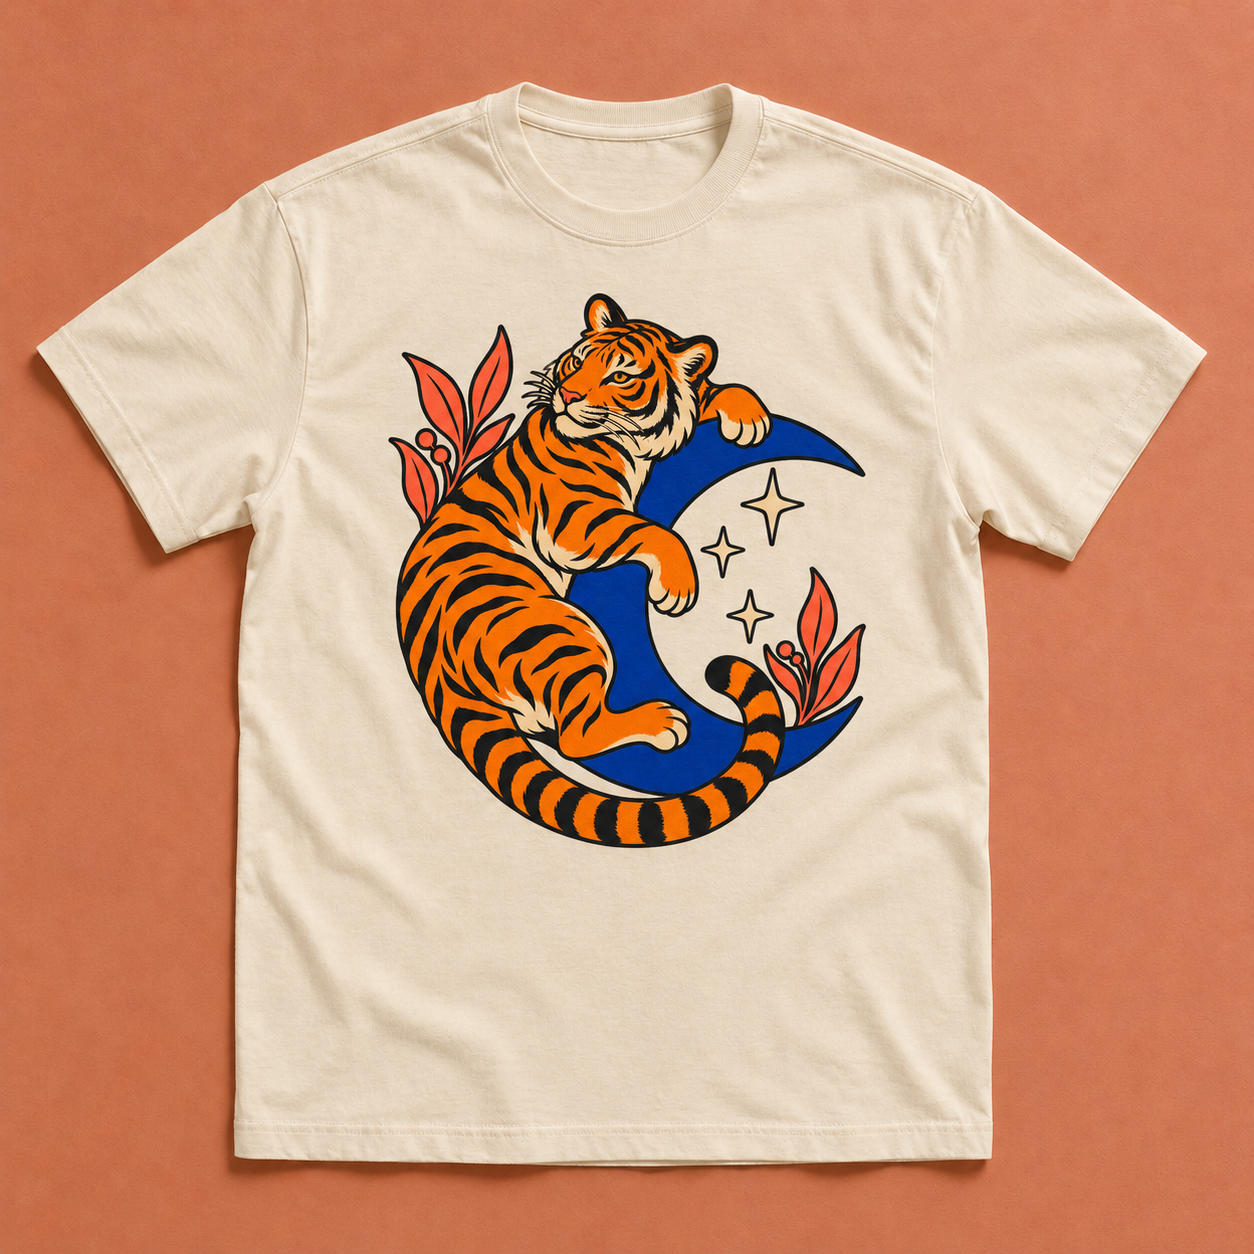
The shirt edit retains the broad tiger, crescent, three stars and foliage, but changes fine stripe paths, facial linework and proportions. That is a recognizable interpretation of the supplied graphic, not the same operation as embedding its file in the poster SVG. A beautiful presentation can still require another revision when exact artwork matters.
Open the original transparent artwork beside the delivered shirt and inspect the tiger’s face, paws, crescent opening and foliage. The full garment study also provides the blank shirt reference, original placement brief and recorded observations. We did not generate a new shirt for this general guide.
Write the mockup prompt around fixed references
Use the supplied artwork as the design reference and the supplied product image as the surface reference. Place the complete design in the approved region. Preserve the named graphic elements, their count and proportions. Keep the product silhouette, seams and selected viewing angle. Change only the requested scene details. Do not add lettering, labels or new product claims.
This is an adaptable planning prompt, not an executed request or a universal provider parameter. Replace “approved region” with a useful description such as centered below the collar, on the visible front panel or within the screen boundary. Include which details may change and which must remain fixed.
For an image operation in Clout Image and Video, select an available model that supports the required references and review its displayed credit quote. For a campaign, explore Marketing Studio. We do not claim that Clout imports another service’s mockup templates or guarantees exact logo preservation.
Choose between templates and generated scenes
A template is useful when you need a repeatable view of a selected product. A generative edit is useful when you need to explore a different setting, lighting direction or presentation. Neither should be accepted without checking the actual file.
Recraft’s official mockup page describes selecting, uploading or generating a mockup base, adding artwork, repositioning it and exporting. Mockey’s help center distinguishes ready-made product templates from its AI image tools. These are documented workflow descriptions; this article does not report an authenticated test of either service. Read our Mockey workflow guide for that named product.
Review the design before the lighting
First check the details that would cause a customer to receive a different-looking product: logo spelling, graphic shape, element count, package closure and visible model or SKU. Compare small features at the delivered resolution. A thumbnail can conceal an altered letter or a missing star.
Next review placement and material interaction. Does the image appear centered on the product rather than on the overall photograph? Does a fold cut through essential wording? Are highlights hiding the artwork? Check for a hard rectangle around transparent art, floating edges and shadows that conflict with the scene.
Finally compare every accepted campaign view. The product should not change between the hero, close-up and lifestyle image. If an exact product detail cannot be preserved reliably, use a more controlled placement method or an accurate owned photograph for that view.
Keep marketing exports separate from production files
A promotional mockup does not establish a printer’s artwork dimensions, a garment’s fit or a package’s structural specifications. Keep the master artwork and supplier template alongside the approved presentation. Ask the responsible supplier for its actual export, color and proof requirements.
Our poster layout specifies canvas coordinates only. It has no assigned physical print dimensions. Our shirt example is fictional and has no manufactured sample. Neither example establishes calibrated color, ink durability or a supplier-approved production file.
Build a reusable mockup handoff packet
Save the artwork version, product reference, placement brief, accepted output and reviewer decision together. Download the blank handoff brief, filled comparison review and file provenance. Record unresolved issues before moving a concept into a public listing.
For the next campaign stage, follow the AI product photography workflow. For motion, begin with an accepted still and review the whole returned clip for changing lettering and shapes. The free files on this page support planning and review; Clout generation uses the displayed credit quote.