“AI faceless video generator” can mean two different products. A prompt-to-scene tool makes a short clip from a visual description. A script-to-video tool assembles narration, images or footage, captions, and sometimes music into a finished story. Both remove the need for an on-camera presenter, but they solve different production jobs.
Start with the format your audience needs. A product close-up, animated scene, or abstract visual can begin with a prompt. A researched explainer needs a verified script and a deliberate sequence of proof shots. For a platform-neutral production plan, read our faceless video guide; for Instagram specifically, use the faceless Reels workflow.
Choose between a generated scene and a complete narrated video
| What you need | Better starting point |
|---|---|
| One original visual, motion test, product shot, or cinematic opening | Prompt-to-video scene generation |
| A script read aloud over matching scenes and captions | Script-to-video assembly |
| An accurate tutorial or review | Real screen capture or hands-on footage, with AI only where it helps |
| A repeated series with scheduled posts | A workflow with review, account connection, and cadence controls |
Clout's current faceless video workflow starts from a scene prompt and creates a short clip. You choose length and format, review the render, then can publish it or use Faceless Autopilot for scheduled creation. It does not turn a long narration script into a finished multi-scene documentary with timed subtitles in one click. Faceless.video's official Text to Video tool describes that script, AI voiceover, matching visuals, captions, and scheduling workflow. Choose by output, not by the shared “faceless” label.
Write a prompt that produces a usable shot
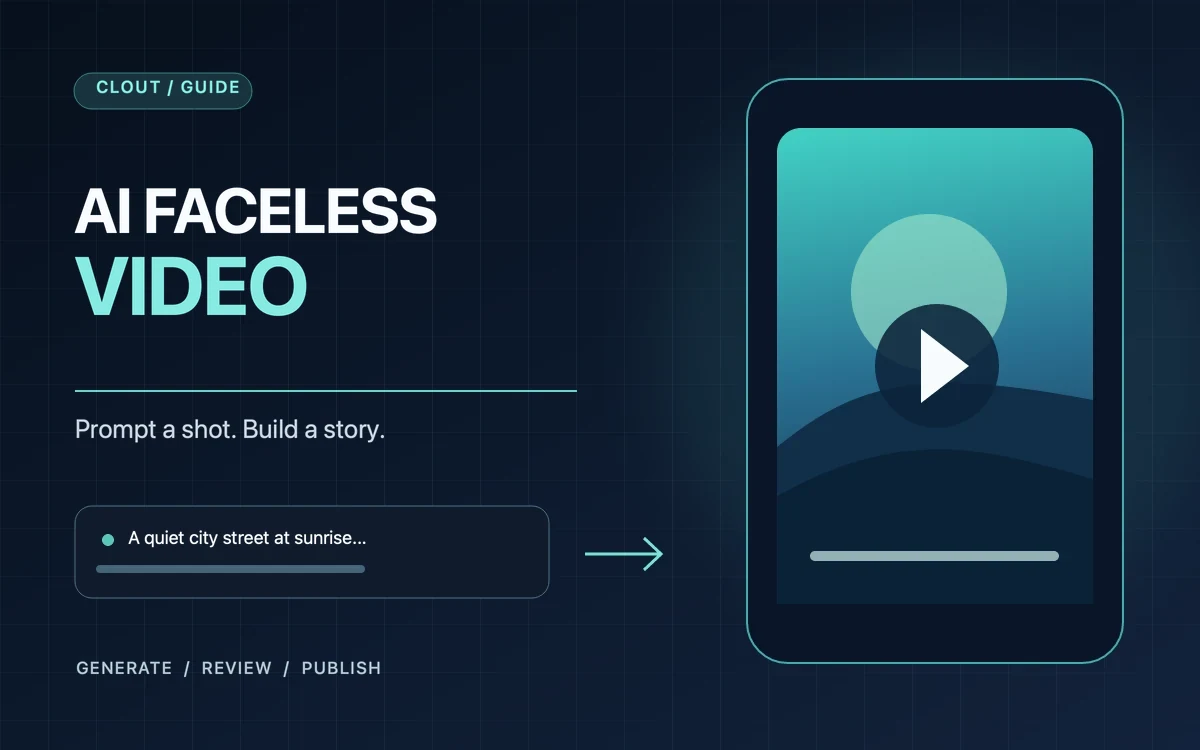
A useful visual prompt names the subject, one action, setting, framing, and mood. Avoid stuffing several unrelated scenes into one short generation. Give the model a single motion it can show clearly, then judge whether the result would help the story.
- Subject: identify the object, animal, place, or non-identifiable figure.
- Action: describe what changes during the clip.
- Camera: specify a close-up, locked frame, slow push, or tracking shot.
- Setting: provide only the details needed to make the action legible.
- Constraint: call out what must remain consistent or absent.
Example: “A ceramic mug on a kitchen table at dawn. Steam curls upward as the camera slowly pushes toward the handle. Soft window light, realistic texture, no text, no people.” That prompt has a visible event and one camera move. “Make a viral faceless video about coffee” leaves the shot, story, and audience unspecified.
Three faceless video briefs to try
Product demonstration: show one real benefit, such as a spill-resistant lid surviving a bag test. Film or record the actual product interaction first. Use a generated opening shot only if it supports the claim without pretending to document a test that never happened. The finished video should show the problem, the demonstration, and the result.
Atmospheric story: use one clear setting and action, such as a train arriving at an empty station at dawn. A generated scene can carry the hook. If the story continues, write the next beat separately and make sure objects, lighting, and location remain coherent between shots. Add narration only when it advances the plot.
Screen tutorial: start with the real workflow captured on screen. A generated background can set the mood, but the teaching steps should remain visible and reproducible. Check that any voiceover names the same controls the viewer sees. This format is often better served by recording than by generating every visual.
Plan the final video before generating more clips
Write the opening question and final payoff first. For a 20-second product explanation, you might need a close-up of the problem, a demonstration, a comparison, and the result. Render or film those four shots, then arrange them around the spoken explanation or on-screen text. Do not generate twenty attractive clips and hope they make a coherent story afterward.
For narrated work, write the factual script and source each claim before making visuals. If a generated image depicts an event that did not happen, present it as an illustration. Record an accurate voiceover, then check the subtitles against the spoken words. Our caption guide has a phone-size editing checklist.
Build a shot list with a purpose beside every frame: hook, evidence, context, transition, or payoff. This prevents an attractive but irrelevant clip from becoming filler. For each shot, record whether it is filmed, captured, licensed, or generated. Keep the original file and its source alongside the edit. That small habit makes it easier to fix an inaccurate visual, replace a licensed asset, or adapt the post to a second platform.
Compare tools with one finished-video test
Give each tool the same brief and judge the export, not the demo gallery. Check whether the first frame matches the promise, how many attempts it took to get a usable shot, whether the voice and captions are accurate, and what you can edit before publishing. Include every generation, retry, and extra scene in your cost calculation. A cheaper credit pack can cost more per usable video if the format needs substantial repair.
- Visual control: can you get the shot or style the script needs?
- Story control: can you change wording, order, duration, and captions?
- Publishing control: can you inspect the finished file before posting and pick the right account?
- Rights: do you own or license every source visual and sound for the destination?
- Repeatability: can you make a second episode without rebuilding the process?
Run this test with a real production constraint. For example, give yourself a 30-minute limit and a four-shot brief, then record how long it takes to obtain a publishable file. Note the number of retries, edits, and exports. A tool that makes a beautiful first frame but repeatedly misses the action can slow production more than a less impressive tool that gives you predictable results.
If you are comparing Clout with Faceless.video specifically, see the side-by-side workflow comparison and our Faceless.video review. Their script-to-video assembly and Clout's prompt-to-scene creation are different starting points.
Publish a small original series
Pick one repeatable format and make three episodes before automating a daily schedule. Keep a clean source file for each video and change the opening, caption, and audio to fit the destination. Compare retention and meaningful responses within that one format. A faceless account needs a recognizable promise even when its creator never appears on camera.
Decide what you will change after those three episodes. If viewers leave before the demonstration, revise the opening or shorten the setup. If they stay but do not follow or click, make the payoff more specific and align it with the account's promise. A generator can increase output, but it cannot decide which audience problem is worth solving. Keep the format that produces useful responses, then automate the repeatable production steps.
Need a concrete format to test? The faceless Reel idea library includes shot plans that adapt to Shorts and TikTok. For longer explanations, the production guide covers research, filming, rights, and measurement.
More guides for this workflow
Ready to put the format into practice? Explore Clout Faceless Studio and Autopilot for generated clips and a repeatable publishing workflow.